Virtual try-on
AI face-framing layers simulator
The most face-dependent cut on the site. Your face is the only useful test.
A face-framing layers simulator shows exactly where the shortest front pieces will land on your face. Upload a front-facing selfie to Kurli, choose whether the layers start at your cheekbones, jaw, or chin, and the AI renders them onto your photo so you can see the frame against your own features.
Tap to pick a selfieDrop a selfie here, or click to browse
Front-facing, well-lit photos work best.
Your photo is used only to render the style and isn't stored.
Key takeaways
- Face-framing layers are the front sections cut shorter than the rest, angled away from the face.
- Where the shortest piece starts decides everything, because that point is what the eye is drawn to.
- Layers starting at the cheekbone widen the upper face, while layers starting at the jaw soften the lower face.
- Face-framing layers grow out invisibly, which makes them the lowest-risk cut on the whole site.
- The cut removes almost no overall length, so it suits anyone who wants change without losing hair.
- Curly hair needs face-framing layers cut dry, since the shortest piece springs up the most.
Variations to try
Tap any one to load it into the box above, then press see it on me.
Where the layers start, and what it does
| Starting point | Effect on the face | Best suited to | Grow-out | Reads as |
|---|---|---|---|---|
| Cheekbone | Adds width up high | Longer, oblong faces | Invisible | Noticeable |
| Jaw | Softens the lower face | Square, angular faces | Invisible | Moderate |
| Chin | Very subtle framing | Round faces | Invisible | Subtle |
| Collarbone | Barely visible movement | Anyone unsure | Invisible | Very subtle |
| With curtain bangs | Full front frame | Most faces | Becomes layers | Strong |
Who face-framing layers suit
This is the most face-dependent cut on the site, which is exactly why rendering it on your own photo is worth more here than anywhere else. The cut does one thing: it places a shorter piece of hair beside a specific part of your face, and whatever it sits beside is what the eye goes to.
Start the layers at the cheekbone and you add width and emphasis high on the face. That is useful on a longer or oblong face, where the extra horizontal interest breaks up vertical length. It is generally less useful on a face that is already widest at the cheekbones.
Start them at the jaw and you soften the lower face. That suits a square or strongly angular jaw, because a soft diagonal beside a hard corner reads as a softening rather than a contrast.
Start them at the chin or below and the effect becomes subtle enough to suit almost anyone, including rounder faces where extra width at the cheek would work against you.
There is no texture that rules the cut out. Curly hair takes it very well provided the stylist cuts dry, because a curl cut to cheekbone length wet may finish somewhere near the eyebrow.
The full face-shape breakdown is in the guide linked above.
How to describe face-framing layers to the AI
One detail does almost all the work.
Say where the shortest piece starts. At the cheekbones, at the jaw, at the chin, or below the collarbone. Everything about the effect follows from this, and a prompt without it gets you a default that may be nowhere near what you want.
Say how soft the step is. Softly blended, or a noticeable step at the front. A blended version reads as movement; a stepped one reads as a deliberate frame.
Mention curtain bangs if you want the full frame. Face-framing layers blended into curtain bangs is a distinct look and the model renders it well.
Say if your hair is curly. Face-framing layers on curly hair produces a meaningfully better render than the straight-hair default.
Render a cheekbone version and a jaw version. These two are the real decision, and seeing them together settles it faster than any description.
What the render gets right, and where it is approximate
Reliable. Where the shortest front pieces land against your cheekbones, jaw, and chin. How much of your face the frame covers or reveals. Whether the added width sits somewhere that flatters your proportions. That is the whole decision here, and the render handles it well.
Approximate. How softly the layers blend into the rest, which depends on your texture and your stylist's technique more than on anything visible. How the front pieces behave when tucked behind an ear.
Not modelled at all. Spring-up on curly and wavy hair, which is the single biggest source of surprise with this cut. Also your natural parting: face-framing layers are cut relative to where your hair parts, and if you change your parting the frame lands somewhere else entirely.
If you part your hair differently on different days, mention it. A stylist can cut the front so it works from either side, but only if they know to.
Why this is the lowest-risk cut on the site
Face-framing layers are worth trying precisely because there is almost nothing to lose.
They remove very little overall length. The back and bulk of your hair stay where they are, so you keep the length you have been growing while changing the part of the haircut you actually see in the mirror.
They grow out invisibly. There is no awkward stage, no line that has to be waited out, and no point at which the cut looks half-finished. The layers simply lengthen until they merge back into the rest.
They are quick and usually cheap, often added to a regular trim rather than booked as their own service. Ask when you book, because the price difference can be nil.
And they are reversible in the sense that matters: if you dislike them, three months of normal growth removes the effect entirely. Compare that with a fringe at six to nine months or a pixie at eighteen. If you want to change something about your hair and are nervous, this is the place to start.
What to ask for at the salon
Point at your own face. Touching your cheekbone and saying start them here is unambiguous in a way that no adjective is, and this cut lives or dies on that single measurement.
Ask for them longer than you think you want. The shortest front piece is the one you will notice every day, and a piece cut too short sits at eye level for weeks. Starting lower and going shorter next time is the sensible order.
Ask how they will blend. A soft blend and a visible step are different results, and the word blended is worth saying out loud if you want the gentler one.
Tell them where you part your hair, and mention it if you switch sides. The frame is cut relative to the parting, so a stylist working from the wrong assumption will produce something that only works half the time.
If your hair is curly or wavy, ask for it cut dry. This is not a preference here, it is the difference between layers that land at your cheekbone and layers that land at your eyebrow.
Pairing the cut with colour
Face-framing layers and face-framing colour do the same job by different means, and they are frequently combined because the effect compounds.
The money piece, two brighter sections at the very front, sits exactly where the shortest layers fall. Lightening those pieces makes the frame more visible without cutting anything further, which is why colourists suggest it so often alongside this cut.
If you are considering both, do the cut first and live with it for a few weeks. The layers change how light falls on the front of your hair on their own, and some people find that is enough. Adding colour afterwards is easy; removing it is not.
If you do go ahead, the American Academy of Dermatology notes that lightening hair more than a few shades needs stronger peroxide and causes more damage, and the front sections are the most visible place for that damage to show. A softer lift on the money piece is usually the better trade than a dramatic one.
One practical point: colour placed on face-framing layers grows out along a diagonal rather than a horizontal line, which is far more forgiving than an all-over lift and one of the quiet advantages of pairing the two.
Common questions
What are face-framing layers?
The front sections of hair cut shorter than the rest and angled away from the face, creating a soft frame. They remove very little overall length, which is why they are such a low-commitment change.
Where should face-framing layers start?
At the cheekbone to add width high on the face, at the jaw to soften an angular lower face, or at the chin for something subtle. The starting point decides the entire effect, so it is the one thing to be specific about.
Do face-framing layers suit round faces?
Yes, but usually starting lower, at the chin or below. Layers starting at the cheekbone add width where a round face is already widest, which is generally not the effect you want.
Are face-framing layers hard to grow out?
No, and that is their main advantage. They grow out invisibly with no awkward stage, because the layers simply lengthen until they blend back into the rest of your hair.
Will I lose length with face-framing layers?
Almost none. The cut only shortens the front sections, so the back and the bulk of your hair keep the length you have been growing.
Can I get face-framing layers with curly hair?
Yes, and they suit curls well, but they must be cut dry. A curl cut to cheekbone length while wet can spring up to eyebrow level once it dries.
How much do face-framing layers cost?
Often nothing extra, because many salons add them to a regular trim rather than charging them as a separate service. It is worth asking when you book.
Is the face-framing layers simulator free?
Browsing styles and reading the guides is free. Rendering a look onto your own photo uses a credit, because that step runs an image model that costs money on each render.
Sources
Hair facts on this page are supported by these sources. What the render will look like on you is a preview, not a promise.
- Tips for healthy hair, American Academy of Dermatology
- Hair care for textured and coily hair, American Academy of Dermatology
- How to style hair without damage, American Academy of Dermatology
- Physiology, Hair, StatPearls, NCBI Bookshelf
Try another style
Keep reading
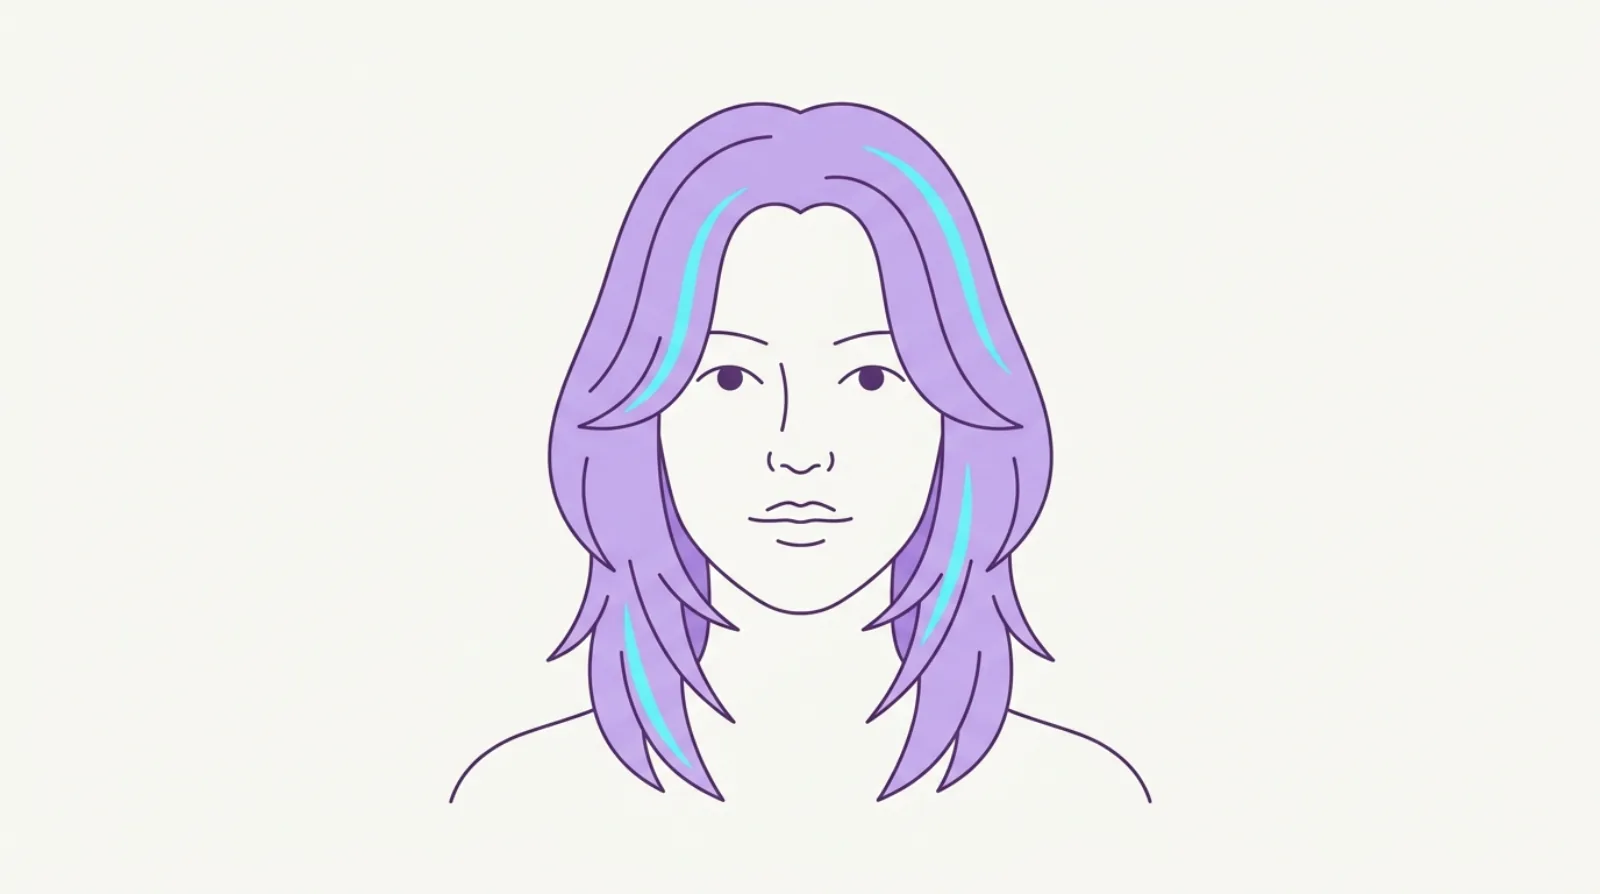
Illustration: Kurli