Bangs and fringe
How to trim your bangs at home without regretting it
Dry hair, real scissors, tiny cuts, point cutting. And the honesty to stop.
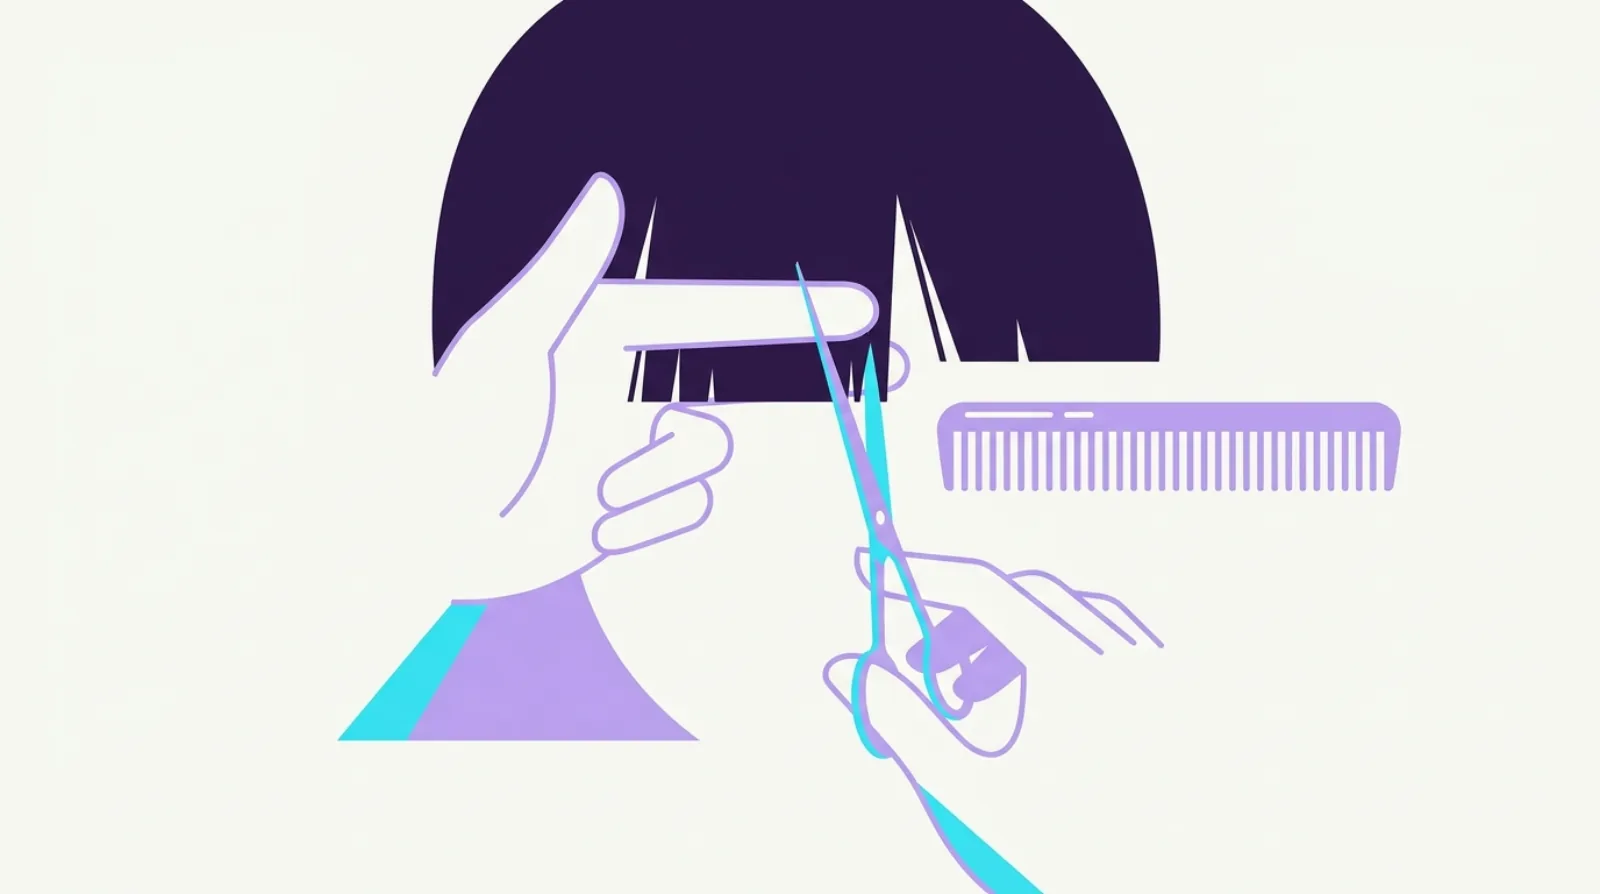
Somewhere between salon visits, every fringe wearer meets the same moment: the bangs are in your eyes, the next appointment is two weeks away, and the bathroom scissors are right there. This page exists for that moment, and it makes two promises. First, home fringe maintenance is a genuinely learnable skill, and done with the method below, dry hair, proper scissors, tiny amounts, point cutting, it will keep a fringe presentable between professional cuts. Second, this page will be honest about the boundary: maintenance is yours, reshaping is not, and the most expensive haircuts in any salon's books are the ones repairing home jobs that crossed the line. Both promises get kept below. For choosing the fringe in the first place, start at the bangs and fringe hub.
Find out whether this suits your face. One selfie, and the face-shape read and your top pick are free.
Kurli is an AI hairstyle advisor: upload one selfie and it reads your face shape, recommends the cuts that suit it, and renders any of them onto your own photo before you commit.
The four rules, before anything else
Every disaster story you have heard about home fringe trimming broke one of four rules. Learn them before touching hair, because the technique sections are just these rules applied.
Cut dry. Wet hair stretches, then springs shorter as it dries; hair with any wave or curl springs a lot. A fringe trimmed to eyebrow level while damp dries a knuckle higher. Always trim fully dry hair, styled the way you actually wear it, so what you see is what you keep.
Cut less than feels worthwhile. The correct home trim removes three to six millimetres and feels almost pointless mid-trim. Hair cannot be reattached, a trim can be repeated tomorrow, and the entire risk of the exercise lives in the sentence "just a little more."
Cut vertically, not horizontally. Point cutting, snipping upward into the ends, removes length gradually and leaves a soft, forgiving edge. A horizontal cut straight across commits your whole hand's steadiness to one line, and hands are not steady.
Stop early. The trim is finished when the annoyance is gone, hair out of your eyes, not when the fringe looks freshly cut. Salon-fresh is the stylist's job at your next visit; your job is the maintenance that gets you there.
The scissors question, answered plainly
The tool matters more than beginners expect, and this is the one purchase the project requires.
Kitchen scissors, nail scissors, and craft scissors do not cut hair cleanly. Their blades are ground for paper, skin, or cardboard, and on hair they bend strands over the blade before severing them, crushing and fraying the ends. The immediate result is a chewed-looking edge; the delayed result is split ends spreading up the strand, which is exactly the damage-and-breakage pattern dermatologists' hair-care guidance attributes to rough mechanical treatment. A fringe trimmed monthly with kitchen scissors looks progressively worse in a way no technique fixes.
What to buy instead: a basic pair of dedicated hairdressing scissors, sold as hair-cutting or barber scissors, in the five-to-six-inch range. Entry-level pairs cost about as much as two coffees and cut cleanly for years of fringe duty. Sharp blades, short enough to control, and used for nothing else, paper is what dulls them.
What you do not need: thinning shears. In home hands they create the patchy, gappy fringes stylists recognise on sight, and every softness they promise, point cutting delivers with more control. Skip them.
A fine-tooth comb and two duckbill or claw clips complete the kit.
Point cutting: the technique that forgives
Point cutting is the whole method, so it gets its own section. Master this one motion and every fringe type below becomes a variation.
The motion: hold the scissors vertically, tips pointing up toward the ceiling, blades opened only a centimetre or two. Bring the tips to the bottom edge of the fringe and snip upward into the ends, removing a tiny triangle of hair, three to six millimetres deep. Move a finger's width sideways. Snip again. Continue across the fringe in small, even nibbles.
Why it forgives: each snip removes almost nothing, so no single decision can ruin the fringe, and the staggered, serrated edge it leaves reads as soft and natural rather than ruler-straight. A slightly uneven point-cut edge is invisible; a slightly uneven horizontal cut is a diagonal line across your forehead. You are choosing the error mode that does not show.
The two beginner mistakes: opening the blades too wide, which turns a nibble into a bite, keep the opening small; and angling the scissors toward horizontal as the hand tires, which quietly converts point cutting back into line cutting, check the vertical every few snips.
Practise the motion once on a piece of paper's edge to calibrate the depth. Then you are ready for hair.
Step by step: the straight-across fringe
The blunt fringe is the most common home-trim candidate, in your eyes fastest, and the most tempting to ruin with a confident horizontal cut. The safe sequence:
1. Style it dry, exactly as worn. Wash-day styling, fully dry, combed into its natural fall. Trimming a fringe styled differently from daily wear produces a trim for a fringe you do not have.
2. Isolate the fringe. Comb the true fringe forward and clip everything else back, especially the side pieces framing your face. The classic home error is trimming face-framing layers as if they were fringe; they are longer on purpose.
3. Comb flat, then let it sit natural. No tension, no holding hair between fingers to cut below them, that stretches hair exactly like water does. The fringe hangs; you cut where it hangs.
4. Point cut across, centre outward. Start in the middle, nibble to one side, return to centre, nibble to the other. Three to six millimetres, vertical scissors, small openings.
5. Comb, look, repeat if truly needed. Comb it back into place, step back from the mirror, assess at conversation distance. Out of your eyes? Stop, even mid-urge. Still touching lashes? One more shallow pass.
Total removal across the whole session: under a centimetre. Time: ten unhurried minutes. Frequency: every two to three weeks between salon visits.
Curtain and side-swept fringes: proceed, carefully
The swept styles are trickier at home, because you are maintaining an angle, not a line, and the two error modes flip.
Curtain bangs: the shape is two halves, each short near the part and longer toward the temple. The home trim maintains only the inner corners, the shortest pieces framing the part, which grow into the eyes first. Split the fringe at your usual part, comb each half into its swept position, and point cut a few millimetres from the inner-corner pieces only, following the existing diagonal. Leave the lengthening slope and the temple ends alone entirely: the slope is the haircut, and re-cutting it is reshaping, which is salon work.
Side-swept bangs: comb the sweep into its worn diagonal and point cut sparingly along the lower edge, following the existing angle, never across it. The high-risk zone is the short end where the sweep begins: over-trim it and the whole diagonal flattens. When in doubt, trim only the eye-corner zone where the sweep actually bothers you.
For both, the session budget is smaller than the blunt fringe's: a few millimetres, the annoyance zone only, and the discipline to leave the architecture untouched. If the shape itself has grown out, the angle slumped, the halves merging, that is not a trim need. Book the reshape.
Wispy and curly fringes: opposite ends of home-friendly
The remaining two styles sit at the extremes of the home-trimming difficulty scale, worth knowing before you pick up scissors.
Wispy bangs are the easiest fringe to maintain at home, and if you are fringe-curious but trim-shy, this is an argument for the style itself. The target edge is already irregular, point cutting is already the finish, and small errors vanish into the intentional softness. Follow the blunt-fringe sequence with even shallower snips, and resist the one temptation the style presents: squaring it off. A wispy fringe trimmed straight across becomes a thin blunt fringe, the worst of both.
Curly bangs are the hardest, and mostly should not be trimmed at home. Every curl carries its own shrinkage, so identical cut lengths spring to different heights; professionals cut curly fringes dry, curl by curl, judging each spring individually. The safe home version is strictly singular: one specific curl hangs visibly too long, you trim that one curl, dry, by a few millimetres, at a moment of good light and patience. Anything broader, evening things up, matching the two sides, is precisely how curly fringes end up two knuckles too short, and the growing-out timeline it triggers runs longer for curls, because shrinkage hides the progress.
When to leave it to a stylist, specifically
The honest boundary, drawn as a list. Home scissors handle none of the following well, and each one is cheaper at a salon than after a repair.
Reshaping of any kind. Changing the fringe's length class, its width, its weight, or its style, blunt to curtain, curtain to wispy, anything to micro. Maintenance keeps a shape; reshaping designs one, with wet-and-dry passes, cross-checking, and sectioning knowledge you cannot apply to your own mirrored reflection.
Cutting in a first fringe. The single worst home project. The sectioning decision alone, how deep the fringe triangle reaches back, determines everything, is irreversible for months, and is invisible to someone who has never cut one.
Curly reshaping or evening-up, per the previous section.
Fixing a home trim gone wrong. Continuing to cut a fringe that went uneven turns a five-minute professional fix into a re-design. Stop at the first "oh no", style it sideways, and book.
Anything involving thinning shears.
And the standing alternative deserves repeating: many salons trim fringes between appointments cheaply or free for existing clients, a ten-minute walk-in that keeps the professional geometry intact. If a salon is nearby and the budget allows, that service beats every technique on this page. Our guide on how to ask your stylist for the right cut covers getting the arrangement set up.
Fix-it kit: when the trim goes slightly wrong
Even careful trims sometimes land a little off, so here is the triage, in escalating order.
Slightly uneven point-cut edge: invisible by design; do nothing. Check again after tomorrow's wash before deciding it exists.
One side marginally shorter: do not balance it by cutting the longer side, that chase is how fringes vanish. Style the fringe with a touch of sweep toward the shorter side, and let two weeks of growth close a few millimetres of gap on their own.
A visible notch or step: point cut a few soft snips at the notch's edges only, to blur its corners, never to level the whole line down to it. Then stop and let growth do the rest, or have a stylist blend it in five minutes.
Cut genuinely too short: no scissors fix exists, and further cutting deepens the hole. Shift to management: texture and a matte paste make a too-short fringe read intentional, the micro-bang styling notes apply surprisingly well, and the growing-out guide's early-stage tricks carry you while it recovers, at the usual centimetre a month.
The pattern across all four: the fix is almost never more cutting. It is styling, patience, or a professional, in that order, and knowing that in advance is what makes home trimming a safe habit rather than a gateway to regret.
Build the habit properly
Done right, home fringe maintenance settles into a calm routine that saves money and keeps the fringe permanently presentable. The sustainable version looks like this.
A rhythm: professional cut or reshape on your normal salon cycle; one or two small home trims in the gaps, every two to three weeks; salon fringe-trim walk-ins whenever offered and convenient. The professional visits maintain the architecture, and your trims maintain the annoyance level.
A setting: daylight or good even light, a mirror you can step back from, dry styled hair, unhurried. The worst home trims share a signature: night, bathroom light, five minutes before leaving, three days of irritation behind the scissors. If you notice the signature, put the scissors down until tomorrow.
A log, loosely: notice what your fringe does in the weeks after each trim, where it grows fastest, which side springs, how soon the eye-poking returns. Two cycles of attention makes your trims noticeably better, because you start cutting for next week's fringe rather than today's.
And keep perspective on what the skill is for: it buys convenience between professional cuts, not independence from them. The people happiest with their fringes long-term run both systems, and the people unhappiest ran one. For everything upstream of the trim, which fringe, what shape, what it does for your face, the bangs and fringe hub and a selfie preview in Kurli remain the place to start.
Common questions
Should I trim my bangs wet or dry?
Always dry, styled the way you actually wear them. Wet hair stretches and springs shorter as it dries, so a fringe trimmed to brow level while damp can dry a knuckle higher. Cutting dry means what you see during the trim is exactly what you keep.
How much should I cut off when trimming bangs at home?
Three to six millimetres per session, under a centimetre total, which will feel almost pointless mid-trim and is correct. The goal is removing the annoyance, hair out of your eyes, not producing a salon-fresh edge. A trim can be repeated tomorrow; overcutting takes weeks to undo.
Can I use kitchen scissors to trim my bangs?
No. Kitchen, nail, and craft scissors bend hair over the blade before severing it, crushing the ends into a frayed edge that develops into split ends. Buy basic dedicated hair-cutting scissors, five to six inches, inexpensive, and used for nothing else, since cutting paper is what dulls them.
What is point cutting?
Holding the scissors vertically, tips up, and snipping upward into the fringe's ends in small nibbles, removing tiny triangles a few millimetres deep. Each snip removes almost nothing, so no single cut can ruin the fringe, and the staggered edge it leaves reads soft and natural rather than ruler-straight.
Why shouldn't I cut my bangs straight across?
Because a horizontal cut commits your hand's steadiness to one visible line, and a slightly uneven horizontal reads as a diagonal across your forehead. Point cutting distributes the trim across dozens of tiny vertical snips whose small errors disappear into a soft edge. Choose the error mode that does not show.
How do I trim curtain bangs at home?
Maintain only the inner corners, the shortest pieces at the part that grow into your eyes first. Comb each half into its swept position and point cut a few millimetres following the existing diagonal. Leave the lengthening slope toward the temples alone; that slope is the haircut, and re-cutting it is salon work.
Can I trim curly bangs myself?
Only in the narrowest case: one specific curl hanging visibly too long, trimmed dry by a few millimetres. Each curl shrinks differently, so evening up or matching sides at home is how curly fringes end up drastically short. Curly fringe shaping is dry, curl-by-curl professional work.
How often should I trim my bangs between salon visits?
Every two to three weeks for a blunt fringe, less often for swept styles whose diagonals hide growth. Keep home sessions to maintenance depth, a few millimetres, and let a professional handle the shape on your normal cut cycle. Many salons also trim fringes between appointments cheaply or free.
What should I do if I cut my bangs unevenly?
Stop cutting. A marginally shorter side is closed by two weeks of growth and a slight sweep in styling; a visible notch is blurred with a few soft point cuts at its corners, or by a stylist in five minutes. Chasing evenness by cutting the longer side is how fringes disappear.
What if I cut my bangs way too short?
No scissors fix exists, so switch to management: matte paste and texture make a too-short fringe read intentional, and hair recovers at roughly a centimetre a month. The one action that makes it worse is more cutting. Style it, wait, and book a professional blend when there is length to work with.
Should I buy thinning shears for my bangs?
No. In home hands thinning shears create patchy, gappy fringes with short interior pieces that stick out for months as they grow. Everything they promise, softness and reduced weight, point cutting delivers with far more control. Professionals use them with sectioning knowledge that does not transfer to a mirror.
When should I leave my bangs to a stylist instead?
For anything beyond maintenance: reshaping a fringe's length class or style, cutting in a first fringe, curly fringe shaping, and fixing a home trim gone wrong. The boundary is simple: your scissors keep a shape the stylist designed; they do not design shapes. Repairs cost more than the trim would have.
Sources
Hair biology and hair-care facts on this page are supported by these sources. Styling recommendations are guidance.
- 10 hair care habits that can damage your hair, American Academy of Dermatology
- Tips for healthy hair, American Academy of Dermatology
- How to style hair without damage, American Academy of Dermatology
- Physiology, Hair, StatPearls, NCBI Bookshelf
- Everyday hair care, American Academy of Dermatology
See it on your own face
Kurli reads your face from a selfie, recommends styles that suit you, and renders each one onto your photo.
The face-shape read and your top pick are free. Your photo is never sold or used to train AI.