Hair colour
Hair colour placement by face shape
Where the light and dark sit changes your face more than the shade does.
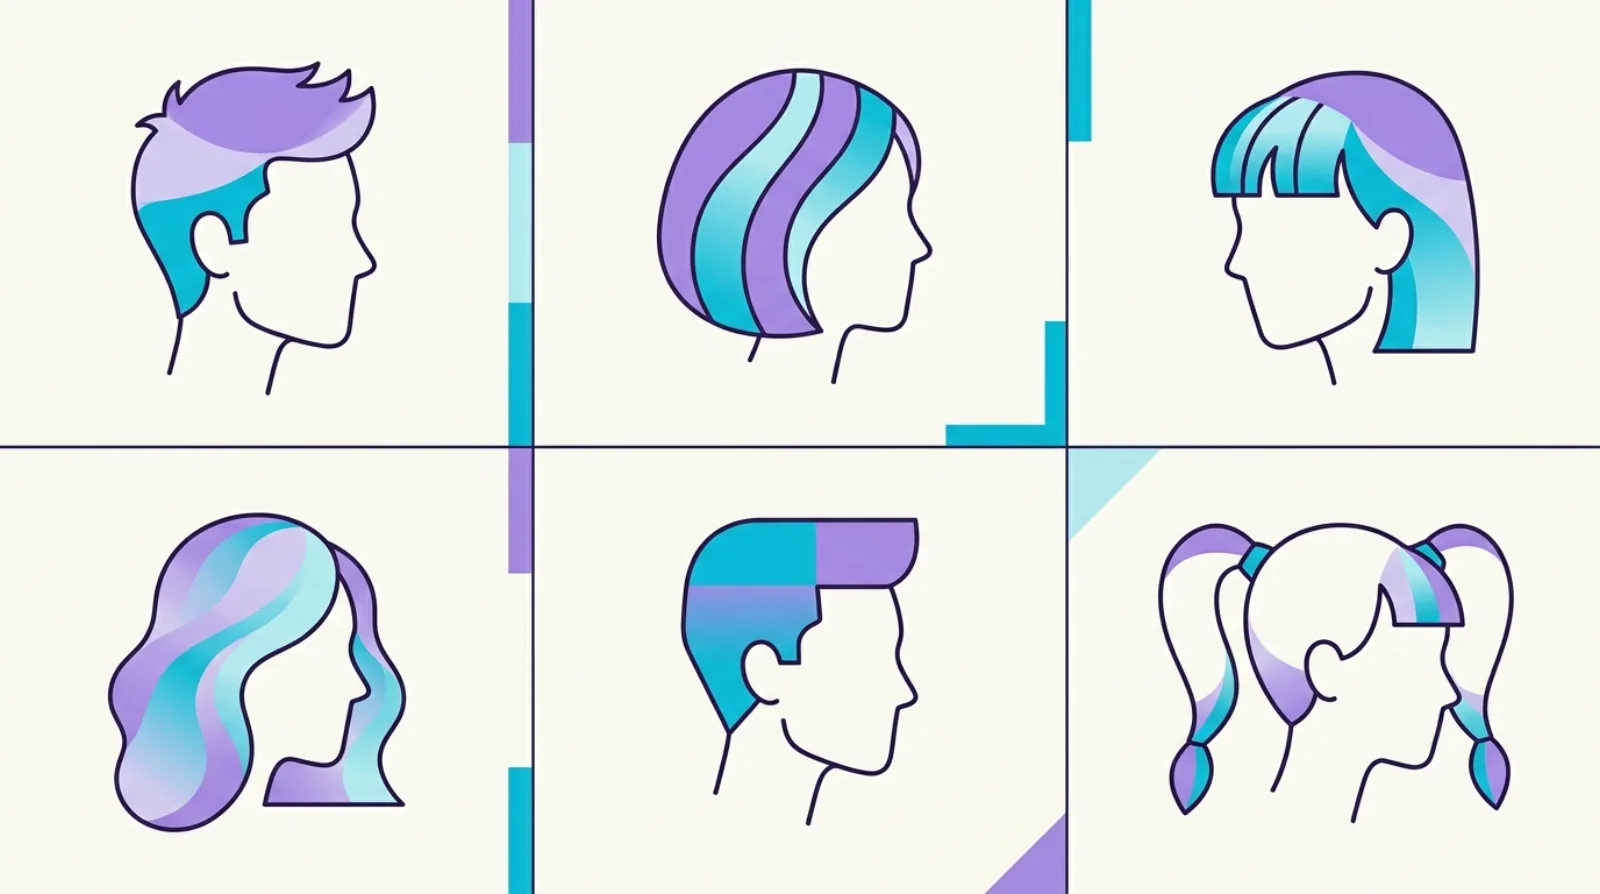
Most colour advice stops at which shade suits your skin. That is only half of it. The other half is placement: where the lighter and darker pieces actually sit on your head. Light pulls the eye forward and makes an area look wider. Dark recedes and makes an area look narrower. Once you know that, you can use colour the same way a good haircut works, to balance whatever your face is already doing. This guide covers what placement does, then goes face shape by face shape.
Find out whether this suits your face. One selfie, and the face-shape read and your top pick are free.
Kurli is an AI hairstyle advisor: upload one selfie and it reads your face shape, recommends the cuts that suit it, and renders any of them onto your own photo before you commit.
The one rule behind all of this
Light comes forward. Dark falls back.
That is the whole principle, and it is the same reason a light wall makes a small room feel bigger. A bright piece of hair beside your cheekbone draws attention there and makes that area read wider and more prominent. A darker section in the same spot makes it recede and look narrower.
So the question is never just "is this shade nice?" It is "where do I want people to look, and which part of my face do I want to sit back?" Answer that and the placement decides itself.
This also means the same colour can suit you or not suit you depending only on where it is placed. A brassy gold that looks harsh at your hairline can look great starting below your jaw.
The four placements worth knowing
You do not need to know every salon technique. Four cover almost everything.
Face-framing (money piece). Lighter sections at the very front, beside your face. The strongest tool you have, because it sits exactly where people look. It brightens your face and pulls attention to whatever it sits beside.
Root shadow or root smudge. Keeping the roots darker than the lengths. It adds depth at the top, stops a colour looking flat, and makes regrowth far less obvious.
Lowlights. Darker pieces woven back in among lighter hair. They restore depth and can narrow an area that is reading too wide.
Balayage and ombré. Colour painted so it gets lighter towards the ends, with the lightest part low down. This moves brightness away from your face and towards your ends, which is useful when you want the width low rather than high.
Round faces: add length, avoid width at the cheeks
A round face is about as wide as it is long, with soft edges and the widest point at the cheeks. The aim is usually to make it read a little longer and less wide.
Do: keep the colour darker at the sides, especially level with your cheeks. Place any brightness low, below the jaw, or high near the crown. A long, soft balayage that only really lightens near the ends works well, because it stretches the eye downwards. A darker root with lighter ends adds vertical length.
Avoid: a bright chunky money piece sitting right at cheek level, and short horizontal bands of highlight across the widest part of your face. Both widen exactly where you do not want width.
Pair this with the cuts in our round face guide.
Oval faces: almost anything, so choose for your skin
An oval face is already balanced, with the forehead slightly wider than the jaw and a gently rounded chin. There is no proportion that needs correcting, so placement becomes a free choice.
That means you should pick based on your undertone and how much upkeep you want, not on correction. Face-framing brightness works. All-over colour works. Balayage works. A bold money piece works.
The only real caution is not to add so much darkness at both sides that you shorten the look of the face, and not to place so much brightness at the temples that the top starts to read wide. Beyond that, oval faces genuinely have the widest range. See the oval face guide for matching cuts.
Square faces: soften the corners
A square face has a strong, angular jaw and a forehead of similar width. The jaw is the defining feature, and most people want to soften rather than remove it.
Do: use soft, blended colour rather than sharp lines. Balayage and babylights suit square faces because they melt rather than stop abruptly. Keep some depth low and near the jaw so it does not read wider, and let brightness sit higher, around the cheekbone and temple, to move attention up.
Avoid: a hard horizontal line of colour that lands exactly at the jaw. A blunt ombré line at jaw level draws a straight edge right across the strongest angle on your face and doubles it.
See the square face guide for cuts that do the same job.
Heart faces: balance a wider forehead with a narrow chin
A heart-shaped face is widest at the forehead and narrows to a small, often pointed chin. The goal is to take a little attention off the top and add some visual weight low down.
Do: put brightness low, from the jaw down. Lighter ends add the impression of width exactly where the face is narrowest. Keep the roots and the area around the temples a bit deeper so the top does not read even wider.
Avoid: heavy bright highlights concentrated at the temples and top of the head, which widen the widest part, and a very dark solid colour below the jaw, which narrows the narrowest part further.
See the heart face guide.
Oblong faces: add width, do not add length
An oblong or long face is noticeably longer than it is wide, often with a taller forehead. Almost everything here is about stopping the eye travelling further down.
Do: place brightness horizontally, around the cheekbones and through the mid-lengths, so the eye moves side to side rather than up and down. Colour that sits richest in the middle section adds apparent width. If you wear a fringe, keeping it slightly deeper than the lengths shortens the forehead visually.
Avoid: a long, drawn-out balayage that only lightens the last few inches, and a dark root with a much lighter end. Both create a strong vertical line and make a long face look longer.
See the oblong face guide.
Diamond faces: brighten the forehead and jaw, calm the cheeks
A diamond face is widest at the cheekbones, with a narrower forehead and a narrow chin. Cheekbones are the feature, and the aim is usually to bring the top and bottom into balance with them.
Do: put light near the temples and at the ends, which adds fullness at the two narrow points. Keep the section level with your cheekbones slightly deeper so the widest part does not get wider still.
Avoid: a bright band sitting exactly across the cheekbones. It pushes the widest area wider and makes the face read more angular than it needs to.
See the diamond face guide.
Placement, part, and cut all work together
Colour placement is one of three levers, and they are strongest when they agree.
Your part decides where the bulk of hair sits. A side part adds a diagonal that softens a square or round face, while a centre part adds a strong vertical that suits an oval face and can lengthen a round one. Our post on part placement by face shape goes further.
Your cut sets the outline. Colour cannot fix an outline that is fighting your face, and a good outline plus contradictory colour placement mostly cancels out.
Get the cut right first, then use colour to fine-tune. If you are unsure of your shape, use the face shape quiz or upload a selfie and let Kurli estimate it.
Judge it in a photo, not in the mirror
A mirror is a poor tool for judging colour placement, and this trips up a lot of people.
In a mirror you see a reversed image, you are usually close to it, and you are lit from whatever is above you, which is often a harsh overhead bulb. All three make it hard to see the overall balance of light and dark on your head.
A photograph shows you what other people actually see. Take one straight on in daylight, near a window, with your hair down and no filter. Then take one from each side. Look at the picture rather than the mirror and ask a simple question: where does your eye land first?
If your eye goes straight to a bright patch sitting at the widest part of your face, the placement is working against you. If it lands on your eyes, the placement is doing its job.
This is also the easiest way to compare options before committing. You can upload that same straight-on photo to Kurli and see styles and shades rendered on your own face, which is a far better test than holding a swatch up to a mirror.
What to actually say at the salon
Stylists think in placement, so describing the effect you want works better than naming a technique you saw online.
Instead of "I want balayage," try: "I would like the brightness to start below my jaw and stay off my cheeks, because I do not want my face to look wider." That single sentence tells a colourist more than a photo does.
Useful phrases: "keep the depth at my root," "keep the money piece soft rather than chunky," "I want the lightest part low," and "please avoid a hard line at my jaw."
Agree where the lightest point sits before any colour is mixed, because that decision is what you will see in the mirror every day, and it is the hardest thing to change afterwards.
Common questions
Does hair colour really change how your face looks?
Yes, mainly through placement rather than the shade itself. Lighter sections draw the eye and make that area look wider and more forward. Darker sections recede and make an area look narrower. Placing light and dark deliberately can make a face read longer, softer, or more balanced without changing the cut at all.
What hair colour makes your face look slimmer?
Keeping the sides darker, especially at cheek level, and placing any brightness low or near the crown. Depth at the sides makes the width of your face recede, while a long soft balayage that only lightens near the ends stretches the eye downwards. Avoid bright horizontal bands across the widest part of your face.
Where should the money piece sit?
It depends on what you want to bring forward. Sitting at cheek level, it widens the middle of your face, which suits long and narrow faces but not round ones. Starting below the jaw adds width low down, which suits heart-shaped faces with a narrow chin. Keep it soft rather than chunky if you want it to look natural.
Is balayage good for a round face?
Yes, if the lightest part stays low. Balayage that keeps depth at the root and sides and only really brightens towards the ends adds vertical length, which is exactly what suits a round face. What does not work is heavy brightness starting up at the cheeks, since that widens the widest point.
Should highlights start at the root or lower down?
For most face shapes, starting them lower is more flattering and much easier to maintain. Keeping a darker root adds depth, stops the colour looking flat, and means regrowth blends instead of forming a hard line. Root-level highlights suit people who want maximum brightness and do not mind touch-ups every few weeks.
Do dark or light colours suit a square jaw better?
Neither on its own. What matters is that the colour stays soft and blended rather than forming a hard horizontal line at your jaw. A sharp ombré line landing at jaw level emphasises the angle. Softly blended colour with some depth low and brightness a little higher softens the corner.
Can hair colour make a long face look shorter?
It can help. Place brightness horizontally around the cheekbones and through the mid-lengths so the eye travels side to side rather than up and down. Avoid a strong dark root with much lighter ends, since that vertical gradient adds to the length you are trying to reduce.
What is a root shadow and who should get one?
A root shadow, or root smudge, keeps the roots deliberately darker than the lengths. It suits almost everyone, because it adds depth, stops flat blocks of colour, and makes regrowth far less noticeable. It is especially useful if you want highlights but cannot commit to touch-ups every few weeks.
Should my colour match my haircut, or work against it?
They should agree. The cut sets the outline of your hair and does most of the balancing work. Colour fine-tunes it. If your cut adds width at the jaw and your colour also adds brightness there, the effect doubles. Choose the cut first, then place colour to support the same goal.
How do I know my face shape before choosing placement?
Pull your hair back, look straight into a mirror in even light, and compare the width of your forehead, cheekbones, and jaw against the length of your face. Our measure your face shape guide walks through it, or you can use the face shape quiz, or upload a selfie and let Kurli estimate it on your device.
Can colour placement replace a good haircut?
No. Placement is a fine-tuning tool, not a substitute. The cut controls the actual shape and where the weight sits, and colour only changes where the eye goes within that shape. A cut that fights your proportions cannot be fixed with highlights, though good placement can make a decent cut look noticeably better.
How often will I need to redo face-framing pieces?
Face-framing pieces sit at the very front, so regrowth shows sooner there than anywhere else, usually within six to eight weeks. Asking for the colour to start slightly below the root, rather than right at it, buys you several extra weeks before the line becomes obvious.
Sources
Hair biology and hair-care facts on this page are supported by these sources. Styling recommendations are guidance.
- Coloring and perming tips for healthier-looking hair, American Academy of Dermatology
- Physiology, Hair, StatPearls, NCBI Bookshelf
- Tips for healthy hair, American Academy of Dermatology
- Hair Follicle, Cleveland Clinic
- Everyday hair care, American Academy of Dermatology
See it on your own face
Kurli reads your face from a selfie, recommends styles that suit you, and renders each one onto your photo.
The face-shape read and your top pick are free. Your photo is never sold or used to train AI.