Women's hairstyle guide
Beachy waves
Soft, tousled waves that look like you spent the day at the sea.
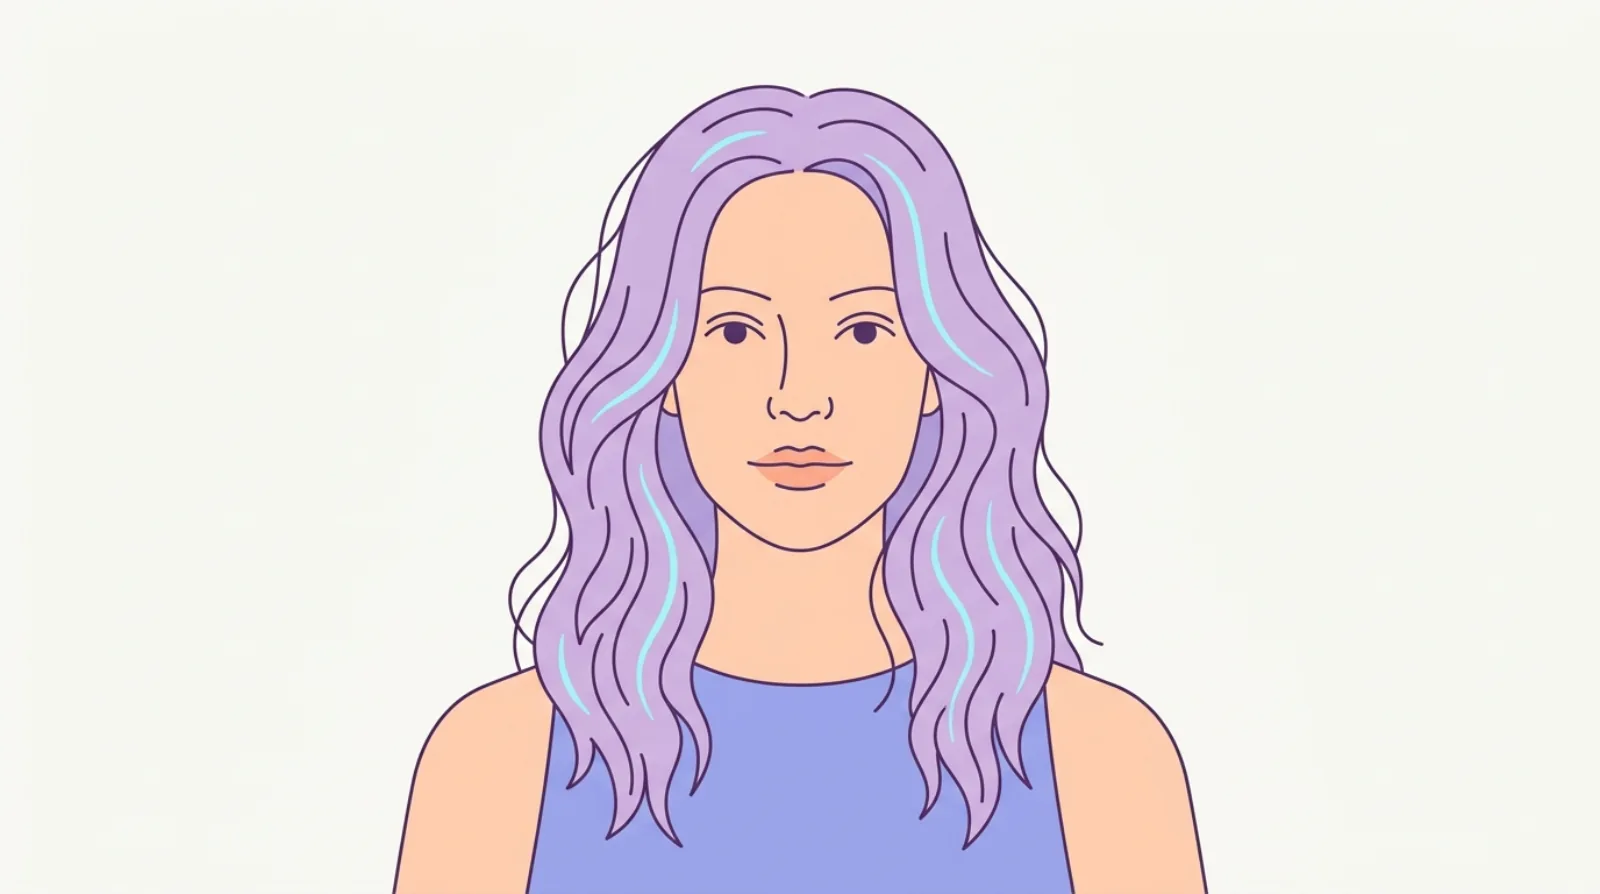
Beachy waves are the soft, loose waves you get after a day near the ocean. The salt in the sea air dries your hair into gentle bends with a bit of grit and a lived-in, messy feel. This look copies that on purpose, at home, on any day of the year. It reads relaxed and pretty without looking fussy. This guide covers the different versions, who they suit, and three ways to make them, from a hot wand to a no-heat braid.
Find out whether this suits your face. One selfie, and the face-shape read and your top pick are free.
Kurli is an AI hairstyle advisor: upload one selfie and it reads your face shape, recommends the cuts that suit it, and renders any of them onto your own photo before you commit.
What beachy waves actually are
Beachy waves are loose, soft waves with a slightly undone, tousled finish. They are not tight ringlets and they are not a smooth, polished blow-out. They sit right in between. The waves bend one way and then the other down the length of your hair, and they are a little different from piece to piece, which is exactly what makes them look natural.
The name comes from the beach for a good reason. When you swim in the sea and let your hair dry in the sun and wind, the salt water leaves your hair with a bit of texture and a gentle wave. That gritty, air-dried feel is the whole look. When you make beachy waves at home, you are copying what the ocean does for free.
The key word is undone. A beachy wave is meant to look like you did not try too hard. The waves are loose, the ends are often left straight, and no two pieces match perfectly. That is the opposite of a stiff, uniform curl. If your waves come out looking too neat and matching, they stop reading as beachy and start reading as a formal set.
Because the look is soft and forgiving, it is one of the easiest styles to wear and one of the most flattering. It adds movement and body without a lot of fuss. To see how it sits next to other options, browse the women's hairstyles hub or compare it with a smoother blowout.
The looks: loose, tousled, and mermaid
Beachy waves are a family of looks, not one single style. Knowing the versions helps you picture and ask for the one you want.
Loose waves. This is the softest, most natural version. The bends are wide and gentle, and there is plenty of straight hair between them. It looks like your hair air-dried with a bit of a bend. This is the everyday, low-key beachy wave, and it suits almost everyone.
Tousled waves. This one has more grit and more mess. The waves are pushed and scrunched so they look piecey and a little wild, like you ran your hands through your hair after a windy walk. There is more texture and a rougher finish. It reads younger and more playful, and it hides the fact that you styled it at all.
Mermaid waves. This is the biggest, most dramatic version. The waves are deeper and run in a long, even S-shape all the way down, so your hair looks full and flowing like a mermaid's. It needs longer hair to really show, and it takes a bit more work, but it is a showstopper for a night out or a photo.
Deep waves vs soft bends. You can dial the same idea up or down. A soft bend is barely there, just enough to stop your hair looking flat. A deep wave has a clear, strong shape. Most people land somewhere in the middle for daily wear and go deeper for an event. Whatever the depth, keep the ends a little loose and the pieces a little uneven, and it will still read as beachy. For soft texture in a partial style, pair the idea with a half-up half-down.
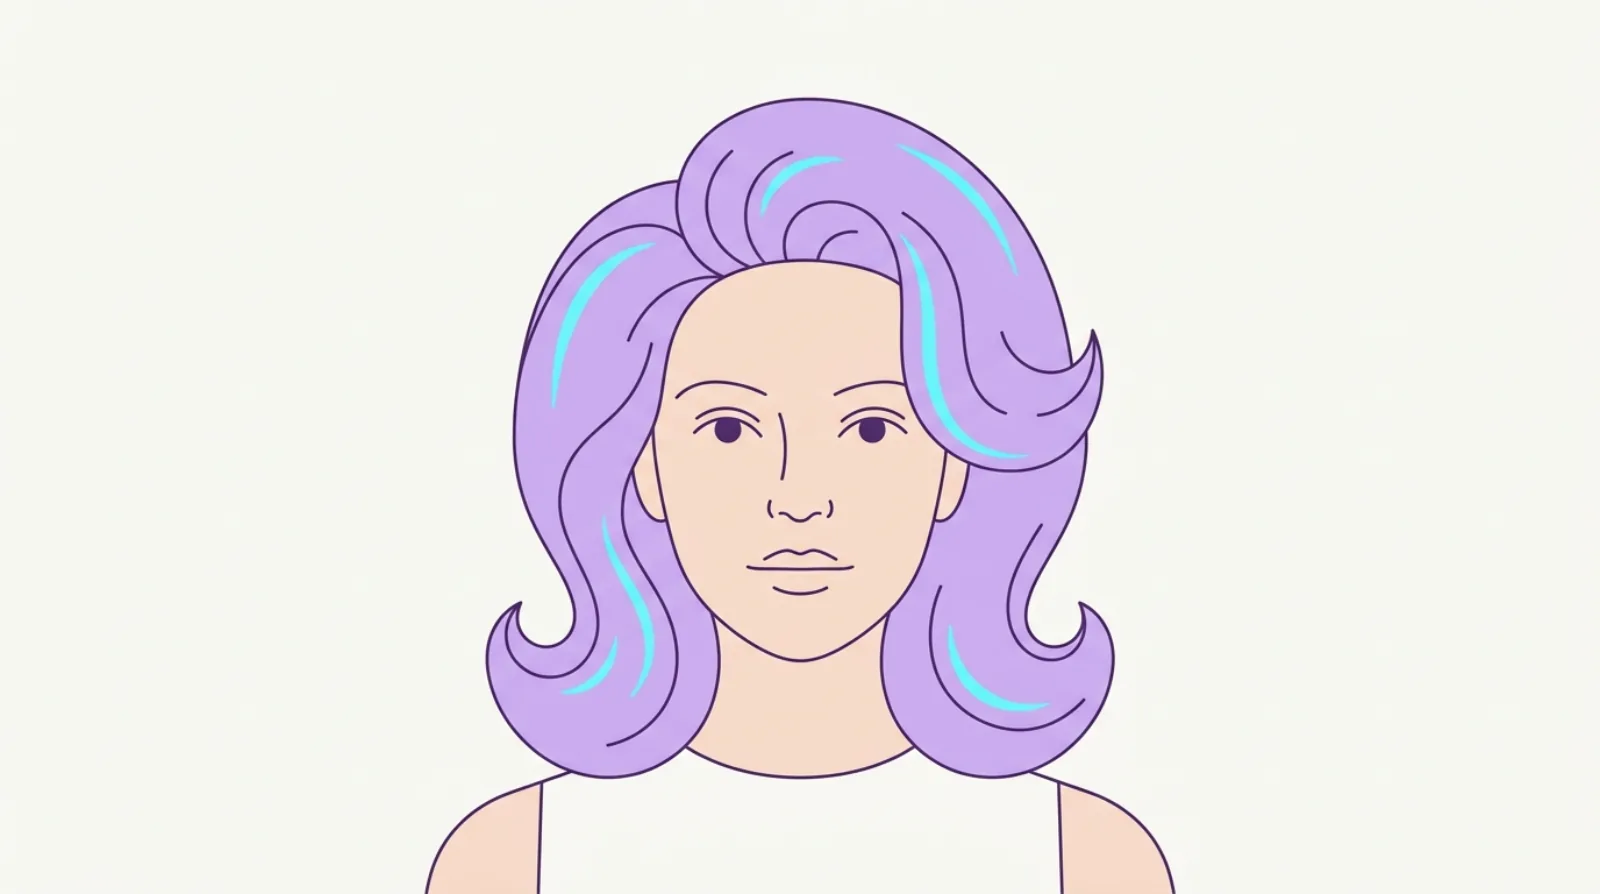 More in women's hairstylesBlowout
Who they suit and which face shapes they flatter
One of the best things about beachy waves is how widely they flatter. Because the waves add soft width and movement, and because you choose where the waves sit, you can shape the look to your own face.
Round faces do well when the waves start lower down, below the cheeks, rather than up high near the face. Waves that begin at the chin or lower add length and keep width off the roundest part of the face. Keep the crown a little flatter so you do not add height and width at the same time. See the hairstyles by face shape guide for more.
Long or oblong faces look great with beachy waves, because the waves add width and break up the length. Waves that start higher, around the cheekbones, put softness where a long face wants it. This is one of the most flattering looks for a long face.
Square faces are softened beautifully by beachy waves. The loose, curved bends work against a strong, angular jaw and take the hard edges off. Let a few waves fall around the jawline to blur the corners.
Heart-shaped faces with a narrow chin can wear waves that add fullness lower down, near the jaw and below. This balances a wider forehead with a bit of soft width at the bottom.
Oval faces can wear any version, since the proportions are already balanced. Choose the depth and starting point that match your mood.
The general rule holds for everyone: start the waves lower to lengthen a round or full face, and start them higher to add soft width to a long face. Not sure which shape you have? The face shape quiz gives you a quick read.
Not sure which face shape is yours? Kurli reads it from one selfie and shows the cuts that suit it.
Hair lengths and textures that work
Beachy waves work across more lengths and textures than most styles, which is a big part of the appeal.
Short hair and bobs. Beachy waves look fresh on a bob. The waves add body and a bit of that undone feel, so a short cut does not look flat. On short hair the waves read more as soft bends than long flowing S-shapes, and that is perfect. Use a smaller wand or iron so the wave fits the length.
Medium and long hair. This is the sweet spot. There is enough length for the wave to bend a few times and really show. Mermaid waves in particular need this length to look their best. Every version in this guide works here.
Straight hair. Straight hair holds a wave the least well, so it needs the most help. A little texturizing or salt spray first gives it grip, and a wand sets a wave that lasts longer than air-drying alone. Let it cool fully before you touch it.
Wavy hair. Wavy hair is made for this look. You already have a natural bend, so a salt spray and a scrunch, or a loose braid overnight, gets you there with barely any heat. This is the easiest starting point of all.
Curly and coily hair. If your hair is curly, a beachy wave usually means loosening your natural curl into a softer, wider bend rather than adding a wave from scratch. A large wand or big rollers can stretch tight curls into looser waves. Be gentle and use plenty of moisture, because curly and coily hair is more prone to dryness and breakage. Air-drying methods are kinder here than daily heat. For more, see hairstyles by hair type.
Way one: the curling wand or iron
A curling wand is the fastest and most reliable way to get beachy waves, and it gives you the most control over the shape. A wand has no clip, just a bare barrel, which makes loose, natural-looking waves easier than a clamped iron.
Start on dry hair. Waves set best on hair that is fully dry. Damp hair will not hold the shape and the heat can damage wet strands.
Protect first. Mist a heat protectant over all your hair before the wand goes near it. This is the single most important step for keeping your hair healthy, which the products section covers in more detail.
Pick a medium heat. You do not need the highest setting. A medium heat sets a wave without frying your hair. Fine hair needs less heat; thick or coarse hair needs a bit more.
Wrap, do not clamp. Take a section about two fingers wide, wrap it around the barrel away from your face, and hold the ends with your fingers (a heat-proof glove helps). Hold for a few seconds, then slide it off.
Leave the ends out. For a true beachy look, stop wrapping before you reach the very ends and leave the last inch or two straight. Straight ends are what make the wave look undone rather than curled.
Alternate the direction. Curl one section toward your face and the next one away. This mix is the secret to a natural look. Waves that all bend the same way look like a formal set, not a beach.
Let it cool, then break it up. Do not touch a fresh wave. Let each one cool completely, because that is when the shape locks in. Once your whole head is cool, run your fingers through gently or brush lightly to loosen the waves into a soft, tousled finish.
Way two: sea salt spray and air-dry
This is the closest thing to a real day at the beach, and it uses little or no heat, so it is the kindest to your hair. It works best on wavy hair and on straight hair that holds a light bend.
Wash and towel-dry. Start with clean, damp hair, squeezed gently with a towel so it is not dripping. Rough drying with a towel adds a bit of the texture you want.
Spray the salt in. Mist a sea salt spray through the mid-lengths and ends, where you want the wave. Go easy near the roots so your hair does not look flat and greasy on top. Salt spray adds grip and that gritty, seaside feel.
Scrunch it. Tip your head down and scrunch handfuls of hair up toward your scalp, squeezing gently. This pushes the hair into waves as it dries. Keep scrunching every few minutes while it is damp to build more wave.
Let it air-dry, or diffuse. The most natural result comes from letting your hair dry on its own. If you are short on time, use a hair dryer with a diffuser on low, cupping sections of hair up to the scalp so you keep the wave instead of blowing it straight.
Scrunch again when dry. Once it is fully dry, scrunch a little more and shake it out with your fingers to loosen and separate the waves.
This method gives a softer, more casual wave than a wand. It will not be as defined or as long-lasting, but it looks the most effortless and it spares your hair the heat. On a naturally wavy head, this is often all you need.
Way three: braids and other no-heat methods
You can make beachy waves with no heat at all by setting your hair in braids or twists while it dries. This is gentle, it needs no tools, and much of it happens while you sleep.
The braid method. Start with damp (not soaking) hair. Split it into two braids for loose waves, or more, smaller braids for tighter, mermaid-style waves. Braid down to the ends and tie them off. Let the braids dry fully, which usually means leaving them in overnight. In the morning, unravel them, and gently separate the waves with your fingers. Fewer, fatter braids give big soft waves. More, thinner braids give a smaller, crimped wave.
How wet is right. The hair should be damp, not dripping, and not bone dry. If it is too wet it will not dry in time; if it is too dry it will not take the shape. A light mist of water or salt spray on nearly dry hair is a good middle ground.
The twist method. Instead of braiding, twist sections of damp hair into tight ropes, coil each one into a little bun, and pin it. Let them dry, then unpin and shake out. This gives a similar wave with less effort than braiding.
Overnight rollers or a headband. Soft foam rollers or wrapping damp sections around a stretchy headband are two more no-heat ways to set a wave while you sleep. They are comfy enough to lie on and they do the work for you.
Finish with your fingers. Whatever no-heat method you use, break the waves up with your fingers at the end and add a little texture spray so they hold. No-heat waves are the healthiest choice, especially for dry, fragile, or colour-treated hair. Dermatologists note that skipping heat is one of the simplest ways to prevent styling damage over time. Compare with a fuller, glossier set in the Hollywood waves guide.
Products and tools you will want
You do not need a lot for beachy waves, and the right few items make a big difference.
Sea salt spray. This is the signature product for the look. It coats the hair with a fine grit that adds grip, texture, and that matte, seaside feel. Spray it on damp hair before you air-dry, or on dry hair to rough up and separate waves. Go light if your hair is dry, because salt can be drying over time.
Texturizing spray. A texture or texturizing spray adds hold and separation without the salt. It is great for finishing waves so they stay piecey and do not fall flat. It is a bit gentler than salt spray for daily use.
A curling wand. A wand with a bare barrel is the best tool for control. A barrel around 1 to 1.25 inches gives a classic loose wave. A larger barrel gives bigger, softer bends; a smaller one gives a tighter wave. A flat iron can also make waves by bending as you glide, if you prefer one tool.
Heat protectant. If you use any hot tool, a heat protectant spray is a must, not an extra. Heat is the main cause of styling damage, and a protectant puts a barrier between the tool and your hair. Mist it on and let it dry before you apply heat. Dermatologists recommend it any time you use a wand, iron, or dryer.
A diffuser. This bowl-shaped dryer attachment dries wavy hair while keeping the wave, instead of blowing it straight. It is the friend of the salt-spray-and-air-dry method when you are short on time.
A light hairspray or dry texture spray. A flexible spray at the end sets the waves without making them crunchy. A dry texture spray the next day brings the grit and lift back to life. For more on matching a style to your hair, see haircuts by length.
Making them last and refreshing on day two
Beachy waves can look even better on the second day, and a little planning makes them last.
Set them properly on day one. With a wand, the waves last longest when you let each one cool completely before you touch it, then finish with a light hairspray. Skipping the cool-down is the top reason waves drop by lunchtime.
Do not over-touch. The more you run your hands through your hair, the faster the waves relax. Give them a good tousle at the start, then leave them alone through the day.
Protect them overnight. Loosely tie your hair in a soft, high bun on top of your head, or a loose braid, before bed. Sleeping on a silk or satin pillowcase cuts down on friction and frizz, so the waves survive the night in better shape.
Refresh on day two. Day-two waves are often looser and a bit flat at the roots. Mist a little dry texture spray or dry shampoo at the roots for lift, then scrunch a few pieces back to life. If a section has dropped, twist it around a wand for a second or two, or damp your fingers and re-shape it by hand.
Skip a wash if you can. Waves grip better on hair that is not squeaky clean, so a second-day head of hair is actually easier to style. This also means less washing and less heat, which is kinder to your hair. A refresh takes a minute or two, far less than starting over.
Common mistakes and how to fix them
Beachy waves are easy, but a few small errors are what separate soft, natural waves from a stiff or messy result. Here is how to avoid them.
Making them too uniform. This is the most common mistake. If every wave is the same size and bends the same way, the look reads as a formal curl set, not a beach. The fix is to alternate the direction as you curl, use slightly different section sizes, and break the waves up with your fingers at the end so no two pieces match.
Making them too crispy. Too much product, especially a heavy hairspray or gel, turns soft waves into stiff, crunchy ones you can hear. Beachy waves are meant to be touchable. Use a light hand with spray, choose a flexible-hold formula, and scrunch out any crunch with your fingers once it dries.
Curling the ends. Wrapping the wand all the way to the tips gives you curled, springy ends that look done rather than undone. Leave the last inch or two straight for a true beachy finish.
Too much salt spray. Salt spray is great, but too much makes hair feel dry, stiff, and sticky. Use a few light mists, not a soaking. On dry or coloured hair, lean on a texturizing spray instead so you do not dry the hair out.
Skipping heat protectant. Reaching for a hot wand on bare hair causes damage that builds up over time. Always mist a protectant first. It is the one step you should never skip.
Touching a hot wave. Loosening a wave while it is still warm makes it fall out. Let each one cool fully, then tousle. Patience here is what makes the waves last all day.
Pros and cons at a glance
Like any style, beachy waves have clear strengths and a few trade-offs worth knowing.
The pros. They are soft, pretty, and flattering on nearly every face shape and hair length. The undone finish is forgiving, so they do not need to be perfect, and small mistakes just look more natural. You can make them with heat for a lasting set or with no heat at all for a gentle, healthy option. They add body and movement to flat or fine hair. They dress up or down, from a school run to a wedding. And they often look better on day two, so one styling session lasts.
The cons. Straight hair does not hold a wave well, so it may drop by the end of the day without product and a proper cool-down. The wand method uses heat, which can damage hair if you skip a protectant or style every single day. Salt spray, used too heavily, can dry hair out over time. And on a humid or rainy day, the waves can frizz or fall, just like any styled look. No-heat methods take longer, since you often have to wait for hair to dry overnight.
Weigh those honestly. For most people the pros win by a wide margin, because the look is easy, adaptable, and kind to your hair when you choose the no-heat route or protect against the heat. Ready to see it on you? Try a look on your own photo with Kurli.
Common questions
How do I make beachy waves at home?
The quickest way is a curling wand on dry, heat-protected hair. Wrap two-finger sections around the barrel, alternate the direction toward and away from your face, and leave the ends straight. Let each wave cool fully, then tousle with your fingers. For a no-heat option, braid damp hair overnight and unravel it in the morning.
What is a sea salt spray and do I need one?
Sea salt spray is a mist that coats the hair with fine grit to add grip, texture, and that matte, seaside feel. You do not strictly need it, but it makes waves look and hold more like a real beach day. Spray it on damp hair before air-drying, or on dry hair to rough up the waves. Use a light hand, because too much salt can dry hair out.
How do I get beachy waves without heat?
Set damp hair in braids or twists and let it dry fully, usually overnight, then unravel and separate the waves with your fingers. Two loose braids give big soft waves; several thin braids give a tighter, mermaid-style crimp. Foam rollers or wrapping damp hair around a stretchy headband are other no-heat ways to set a wave while you sleep.
What face shapes do beachy waves suit?
Nearly all of them, because you choose where the waves sit. Start the waves lower, below the cheeks, to lengthen a round or full face. Start them higher to add soft width to a long face. Waves soften a strong, square jaw beautifully, and oval faces can wear any version. It is one of the most flattering, adaptable looks there is.
Why do my beachy waves fall out so fast?
Usually the hair was too clean and silky, the waves were touched while still warm, or there was no product to hold them. Add a salt or texture spray before you style, let each wave cool completely before you touch it, and finish with a light hairspray. Straight hair holds a wave the least, so it needs the most help.
Do beachy waves work on short hair or a bob?
Yes. On a bob the waves read as soft bends rather than long flowing S-shapes, and they add body so a short cut does not look flat. Use a smaller wand or iron that fits the length, and leave the ends a little loose. It is a fresh, easy look on short hair.
What is the difference between beachy waves and mermaid waves?
Beachy waves are loose, soft, and a bit undone, with straight ends and pieces that do not all match. Mermaid waves are bigger and more dramatic, running in a deep, even S-shape all the way down for a full, flowing look. Mermaid waves need longer hair and a bit more work, while everyday beachy waves are looser and quicker.
How do I keep beachy waves overnight?
Loosely tie your hair in a soft high bun or a loose braid before bed, and sleep on a silk or satin pillowcase to cut down on friction and frizz. In the morning, shake it out and refresh with a little dry texture spray at the roots. Waves often look even better on the second day.
Do beachy waves damage your hair?
It depends on the method. The no-heat braid and air-dry methods are gentle and safe, even for fragile or coloured hair. The wand method uses heat, which can damage hair over time if you skip a heat protectant or style every day. Dermatologists recommend a protectant with any hot tool and taking heat-free days when you can.
Why do my waves look too curly instead of beachy?
You are probably curling all the way to the ends and making every wave the same. Leave the last inch or two of each section straight, alternate the direction toward and away from your face, and vary the section sizes. Once your hair is cool, run your fingers through to loosen the waves into a soft, undone finish.
How much salt spray should I use?
A few light mists through the mid-lengths and ends, not a soaking. Too much salt spray makes hair feel dry, stiff, and sticky, and over time it can dry the hair out. If your hair is already dry or colour-treated, lean on a texturizing spray instead, which gives hold and separation without the salt.
What tools do I need for beachy waves?
Very few. A curling wand with a bare barrel around 1 to 1.25 inches for control, a heat protectant to use before any hot tool, a sea salt or texturizing spray for grip, and a light hairspray to set the look. A diffuser helps if you air-dry. For a no-heat wave you need nothing but a few hair ties.
Sources
Hair biology and hair-care facts on this page are supported by these sources. Styling recommendations are guidance.
- How to style hair without damage, American Academy of Dermatology
- Tips for healthy hair, American Academy of Dermatology
- Must-try summer hair care, American Academy of Dermatology
- Everyday hair care, American Academy of Dermatology
- Hair Problems, MedlinePlus, U.S. National Library of Medicine
See it on your own face
Kurli reads your face from a selfie, recommends styles that suit you, and renders each one onto your photo.
The face-shape read and your top pick are free. Your photo is never sold or used to train AI.