Women's hairstyle guide
Butterfly cut
Short face-framing layers on top, long layers underneath. Big volume without losing length.
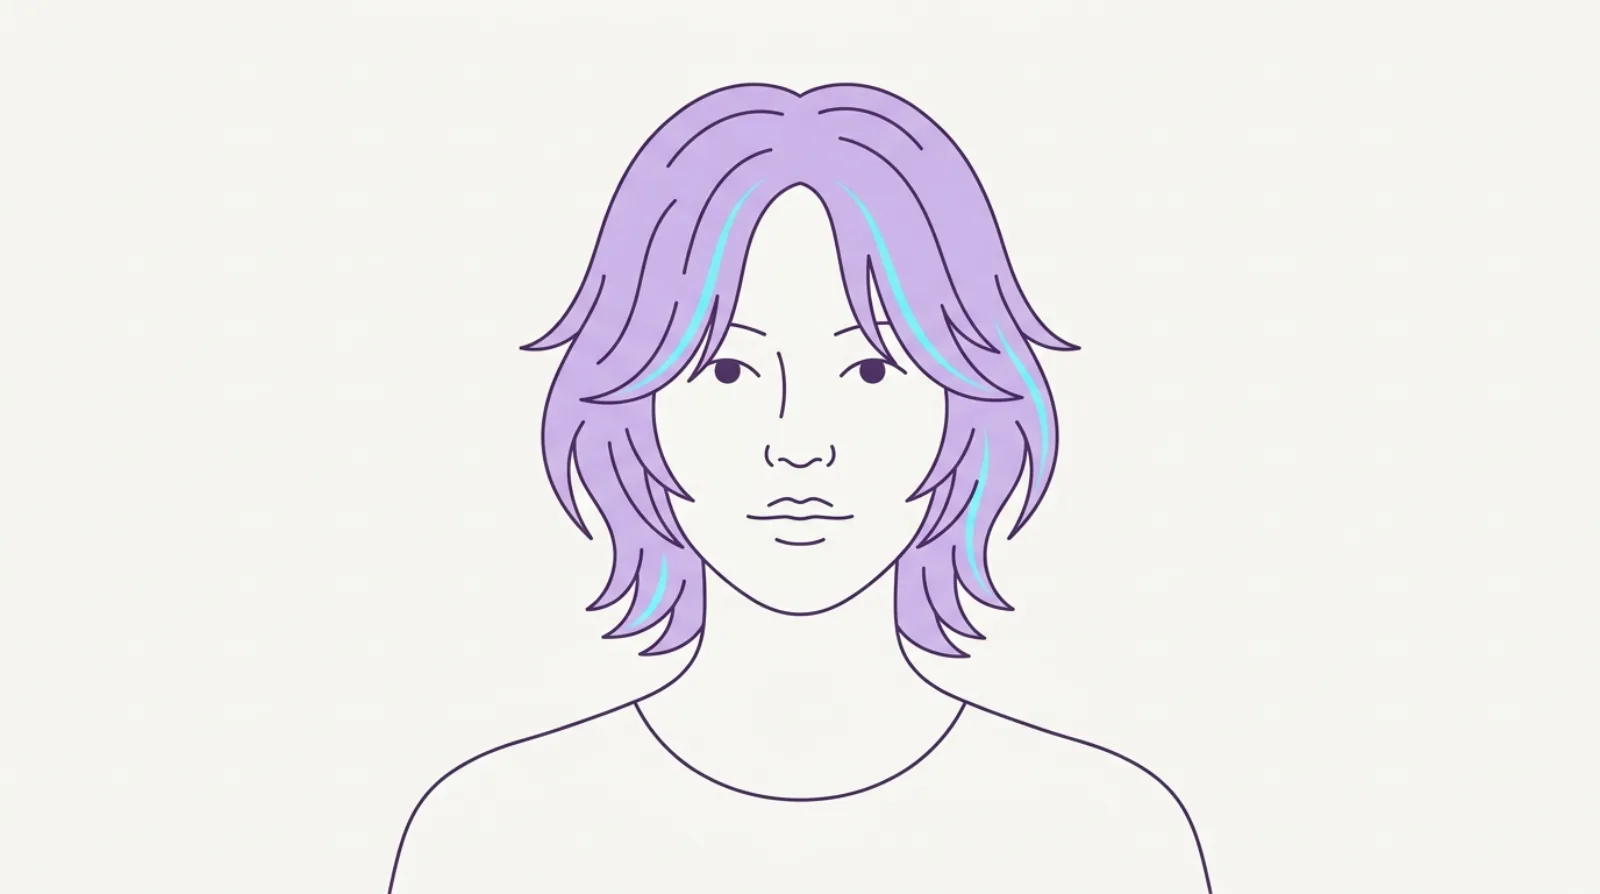
The butterfly cut is a layered haircut that gives you big volume and movement while keeping your length. The trick is in the layers. Short pieces near the top and around your face add lift and frame you, and longer pieces underneath keep the length long. When you blow it out, the layers fan up and away like butterfly wings, which is where the name comes from. This guide covers what it is, how it is different from a shag or a wolf cut, who it suits, and how to style it at home.
Find out whether this suits your face. One selfie, and the face-shape read and your top pick are free.
Kurli is an AI hairstyle advisor: upload one selfie and it reads your face shape, recommends the cuts that suit it, and renders any of them onto your own photo before you commit.
What a butterfly cut actually is
A butterfly cut is a long, layered haircut with two clear zones. The top layers are cut short, often ending somewhere around your chin or collarbone. The bottom layers are left long, keeping the full length you started with. Because the short layers sit on top of the long ones, they lift up and add body while the length stays.
The name comes from how it looks when it is styled. When you blow the hair out and flick the layers up and away from your face, the shorter pieces flare out on each side. The shape looks a little like open butterfly wings. It is a soft, full, bouncy look rather than a flat one.
The key idea is volume and movement without a big chop. Many people want their hair to look fuller and more lively, but they do not want to lose length. The butterfly cut is built to do both at once. You keep long hair, and you get face-framing layers that make it move.
It became hugely popular as a modern take on the seventies blowout, made famous again by celebrity stylists. It suits people who like to blow-dry or wave their hair, because the layers are what bring the shape to life. If you want to see how it sits next to other options, browse the women's hairstyles hub, or compare it with softer long layers.
How it differs from a shag, long layers, and a wolf cut
The butterfly cut gets mixed up with a few similar styles. They all use layers, but the feel of each one is different. Knowing the difference helps you ask for the right cut.
Butterfly cut vs long layers. Plain long layers are gentle and blended. The layers are gradual, so the hair looks smooth and the shape is soft. A butterfly cut is bolder. The shortest layers are much shorter than the length, so there is a clear jump between the short top and the long bottom. That gap is what creates the big, flippy volume.
Butterfly cut vs shag. A shag is choppy, textured, and often a bit undone. It has lots of short, ragged layers all through, and it is usually worn messy with a rough finish. A butterfly cut is smoother and more polished. It aims for a full, glossy blowout look, not a lived-in, edgy one.
Butterfly cut vs wolf cut. A wolf cut is the most extreme of the group. It mixes a shag with a mullet, so the top is short and spiky and the layers are heavy and disconnected. It is a strong, statement cut. A butterfly cut is far softer and more classic. It keeps the length looking healthy and full rather than choppy.
Think of it as a scale. Long layers are the softest, then the butterfly cut, then the shag, then the wolf cut is the boldest. The butterfly sits in the sweet spot for people who want volume that still looks smooth and grown-up. If length is what you care about most, the haircuts by length guide compares the options.
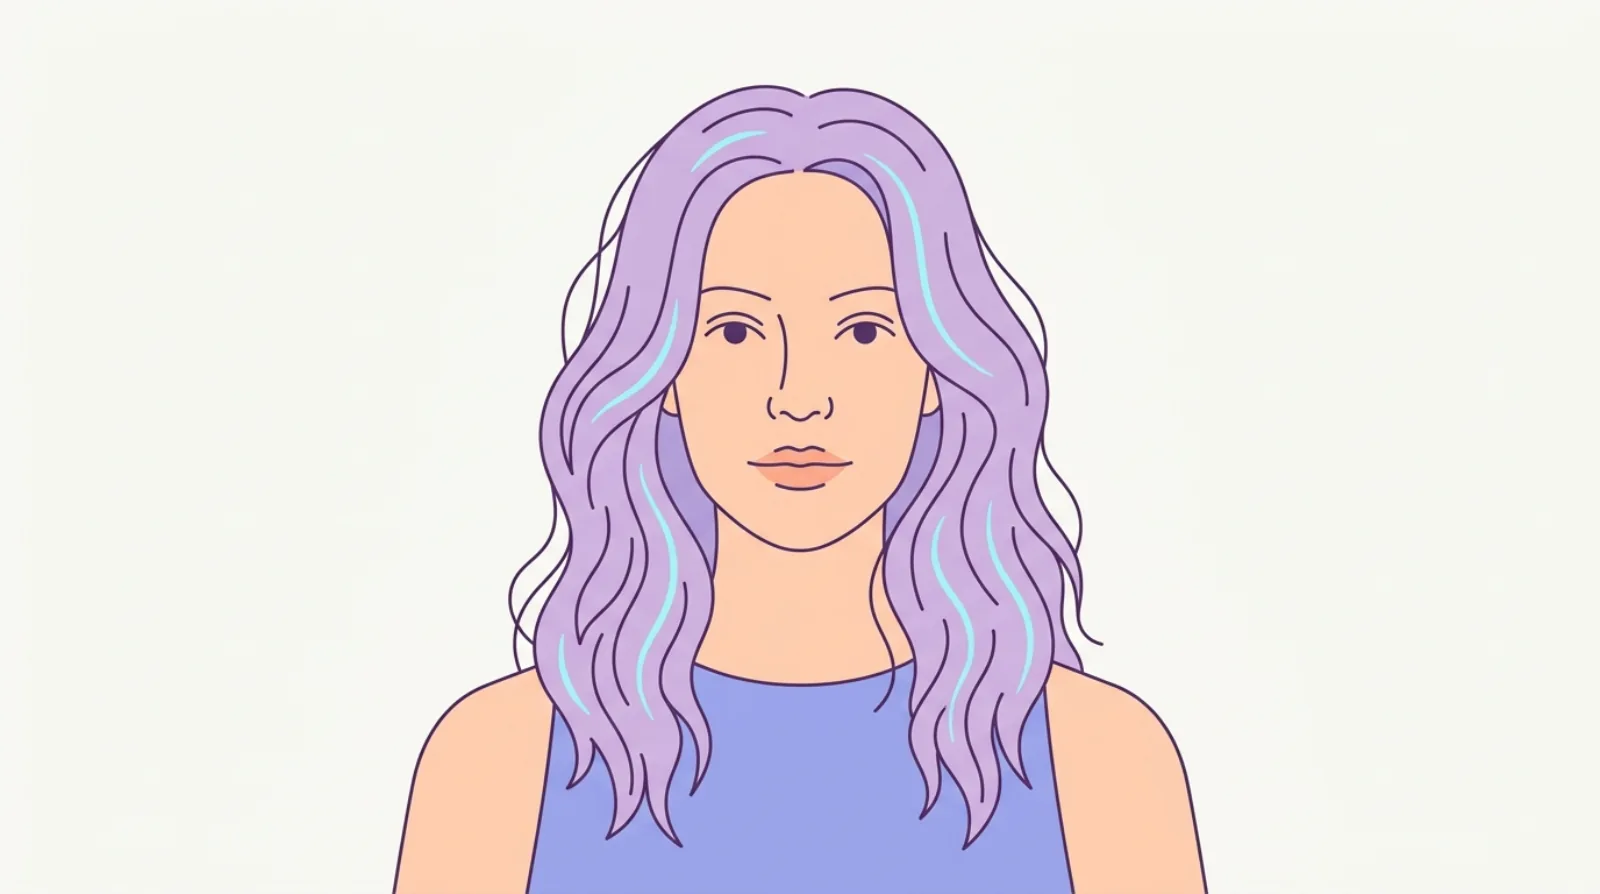 More in women's hairstylesBeachy waves
Shorter versions and longer versions
The butterfly cut is not one length. Where the shortest layer falls changes the whole look, so it is worth deciding what you want before you sit in the chair.
The shorter version. Here the top layers are cut around the chin or jaw, and sometimes shorter, close to face-framing layers or curtain-style pieces at the front. This gives the most drama and the biggest lift near your face. The wings are more obvious, and the hair looks very full up top. It is a strong, glamorous look, but there is a trade-off. Because the shortest pieces are quite short, you will see them more when your hair is tied up, and they take longer to grow back in.
The longer version. Here the shortest layers land nearer the collarbone or the top of the chest. The change between short and long is gentler, so the volume is softer and more natural. This version is the safer starting point if you have never had heavy layers before. It keeps more of your length looking long, and it is easier to tie back without short bits falling out.
Most stylists will tailor the shortest layer to your face and your hair length. A good middle path for a first-timer is layers that start around the chin at the very front and get longer as they move back. If you want the front pieces to read as separate, pair the cut with face-framing layers or curtain bangs.
Who it suits and which face shapes it flatters
One of the best things about the butterfly cut is how the layers can be placed to flatter your face. Because a stylist decides where the shortest pieces fall, the cut can be shaped to suit you.
Round faces do well with layers that start lower, around or below the chin. Longer face-framing pieces draw a soft vertical line down the cheeks, which makes a round face look a little longer and less wide. Avoid short layers that add a lot of width right at the cheeks.
Long or oblong faces suit layers that start higher, nearer the chin, along with soft front pieces or curtain bangs. Width and volume around the cheeks helps balance a long face, and a little fullness at the sides stops the shape from looking stretched.
Square faces look great with soft, curved layers around the jaw. Gentle, flippy pieces break up a strong, angular jawline and soften the corners of the face. Keep the framing rounded rather than blunt.
Heart-shaped faces, which are often wider at the forehead and narrower at the chin, suit layers that add body lower down, near the jaw and chin. This balances a narrow chin against a wider top.
Oval faces can wear almost any version, since the proportions are already balanced. Pick the length that matches your hair type and how much upkeep you want.
The general rule is simple. Face-framing layers near your best feature, and volume placed to balance width or length. Not sure which shape you have? The face shape quiz gives you a quick read, and hairstyles by face shape goes deeper.
Not sure which face shape is yours? Kurli reads it from one selfie and shows the cuts that suit it.
Hair types and textures that work
The butterfly cut is one of the more flexible layered cuts, and it can be adjusted for very different hair types. It shines in two situations in particular.
Fine hair that wants volume. If your hair is fine or a bit flat, the butterfly cut is a smart choice. The short top layers sit above the longer ones, so they lift up and create the look of much thicker hair. A blowout on this cut can make fine hair look full and bouncy. The one thing to watch is that layers can make fine hair look thin at the very ends, so ask your stylist to keep the length looking solid and not too wispy.
Thick and wavy hair. Thick hair can feel heavy and hard to move. Layers take out some of that weight, so the hair sits better and swings more. Wavy hair is a natural match, because the waves fall into the layered shape and give movement with almost no effort. The cut helps thick hair feel lighter without losing its fullness.
Straight hair. Straight hair gives the sleekest, most polished butterfly look, and it shows the flippy wings clearly. It needs a round-brush blowout or a curling wand to bring the shape out, because straight hair on its own can fall flat and hide the layers.
Curly and coily hair. The cut can work on curls, but it needs a stylist who cuts curly hair well, ideally on dry hair so they can see how each curl sits. Layers should be placed for the curl pattern, not against it. Curly and coily hair is also more prone to dryness and breakage, so keep it well moisturised and handle it gently. For more on matching a cut to your texture, see hairstyles by hair type.
How the cut is done
It helps to know roughly how a butterfly cut is created, so you can talk to your stylist and understand what you are asking for.
The stylist starts by deciding where the shortest layer will fall, usually somewhere between your chin and your collarbone. They often pull the front sections forward toward your face to cut the face-framing pieces, so the shortest layers sit right where they will lift and frame you. This forward cutting is a big part of what makes the wings.
The rest of the hair is cut in layers that get gradually longer as they move down the head. The result is short pieces on top and long pieces underneath, with a soft blend in between. The bottom length is left mostly untouched, which is how the cut keeps your length while still adding all that shape up top.
Many stylists also add a little texturing at the ends, using point-cutting or a razor, to soften the layers so they flick and move instead of sitting in a hard line. The amount of texturing is a choice. More texture gives a softer, airier finish, and less texture keeps the ends fuller.
The cut is usually finished with a blow-dry so you can see the shape come to life. This is the moment to tell your stylist if you want more or less volume, or shorter or longer front pieces, while there is still hair to adjust. Being clear about the shortest layer is the single most useful thing you can say.
How to style it at home
The butterfly cut is a styled cut. It looks its best with a blow-dry, and the layers are what carry the shape. The good news is that once you learn the basic blowout, it is quick.
The round-brush blowout. This is the classic butterfly finish. Start with damp hair and a little heat protectant. Take sections, place a round brush under each one, and dry the hair while rolling the brush up and away from your face. Aim the dryer down the hair to keep it smooth. The key move is that away-from-the-face direction, because that is what makes the layers flick out into wings. A larger round brush gives a smoother, softer bend, and a smaller one gives more bounce.
The curling wand for flippy layers. If you do not want to master a full blowout, a curling wand is the easy shortcut. Wrap sections around the wand, again curling away from your face, and hold for a few seconds. Focus on the shorter top layers and the front pieces, since those are the ones that make the shape. Leave the ends a little loose for a soft, modern finish rather than a tight curl.
A quick everyday version. You do not have to do the whole head every day. Often you can refresh just the front face-framing pieces with a wand or a round brush, add a little volume at the roots, and leave the length as it is. That keeps the shape looking intentional with only a few minutes of work.
Finish by tipping your head and running your fingers through the layers to break them up, then set the shape lightly. For a softer, more undone finish, pair the layers with beachy waves.
Products and tools you will want
You do not need a lot for a butterfly cut, but a few tools make the styled shape much easier to get.
A round brush. This is the main tool. It creates the lift at the roots and the flick at the ends. A medium-to-large ceramic round brush suits most people. A bristle-and-nylon mix grips the hair well and helps smooth it.
A blow-dryer with a nozzle. The nozzle concentrates the air so you can point it down the hair for a smooth finish. A dryer with a cool-shot button is handy, because a blast of cool air at the end helps set the shape and lock in the volume.
A curling wand or iron. For the flippy layers, a wand is the fastest route. A one-inch to one-and-a-quarter-inch barrel gives a soft, loose bend that matches the cut.
Heat protectant. Because this cut relies on heat styling, a heat protectant spray is not optional. It shields the hair from the dryer and iron. Dermatologists note that repeated heat can dry and weaken hair over time, so protecting it each time matters.
A volumising mousse or root spray. For fine hair, a light mousse on damp hair or a root-lift spray gives the volume something to hold. Use a little, because too much can make fine hair sticky and flat.
A light hairspray or texture spray. A flexible spray sets the wings without making them crunchy. A texture spray adds grip and a bit of separation between the layers. Keep the finish soft so the layers still move.
Upkeep, trims, and growing it out
The butterfly cut needs a little care to keep looking its best, mostly because the layers are what give it shape.
Trims. Plan on a trim roughly every eight to twelve weeks. The bottom length does not need much, but the layers and the face-framing pieces lose their shape as they grow, so a light reshape keeps the wings crisp. If you want the front pieces to stay short and sharp, you may go a touch more often. If you are happy for the layers to soften and blend as they grow, you can stretch the time between visits.
Day-to-day care. Layered ends are the oldest, most worn part of your hair, so they need moisture. Use a conditioner through the mid-lengths and ends, and a leave-in or light oil on the tips to stop them looking dry or frizzy. Avoid over-washing, which strips the natural oils the ends need.
Growing it out. This is a real strength of the cut. Because the bottom length is kept long, a butterfly cut grows out gently. The short layers simply blend into the length over time and turn into soft long layers, without an awkward stage. If you decide to grow it long again, you can let the layers catch up while keeping your length the whole way. That makes it a low-risk cut to try. Ready to see the shape on yourself? Try a look on your own photo with Kurli.
Common mistakes, plus the pros and cons
A butterfly cut is lovely when it is done and styled well, and a few common errors are what hold it back. Here is how to avoid them, and an honest look at the trade-offs.
Common mistakes. The biggest one is going too short on the top layers for your hair type, which can leave short bits that stick out and are hard to tie back. Ask for a longer shortest-layer if you are unsure. Another is skipping the styling. This is a cut that needs a blow-dry or a wand to show its shape, so if you never heat-style, plain long layers may suit you better. A third is curling the layers toward the face instead of away, which flattens the wings. Always flick away from your face. And forgetting heat protectant, on a cut that relies on heat, leads to dry, damaged ends over time.
The pros. You keep your length and still get big volume and movement. The layers can be placed to flatter your face shape. It works well on fine hair that wants fullness and on thick, wavy hair that wants to move. It grows out gently with no awkward stage.
The cons. It needs regular styling to look its best, so it is more work than a wash-and-go cut. It relies on heat, which means you must protect your hair. The shortest layers can be fiddly to tie up. And a good version depends on a stylist who understands the cut, so it pays to bring a photo and be clear about the length you want. Weigh those honestly. For people who like to blow-dry or wave their hair, the volume is well worth the effort.
Common questions
What is a butterfly cut?
A butterfly cut is a long, layered haircut with short layers on top and around the face and longer layers underneath. The short pieces lift up and add volume while the length stays long. When you blow it out and flick the layers away from your face, they fan out like butterfly wings, which is where the name comes from. It gives big volume and movement without a big chop.
How is a butterfly cut different from a shag?
A shag is choppy, textured, and often worn messy with lots of short ragged layers. A butterfly cut is smoother and more polished, aiming for a full, glossy blowout look rather than a lived-in one. Both use layers, but the butterfly is softer and more classic, while the shag is edgier and more undone.
What is the difference between a butterfly cut and a wolf cut?
A wolf cut mixes a shag with a mullet, so the top is short and spiky and the layers are heavy and disconnected. It is a bold statement cut. A butterfly cut is far softer and keeps the length looking healthy and full. Think of a scale: long layers are softest, then the butterfly, then the shag, then the wolf cut is the boldest.
How is a butterfly cut different from long layers?
Plain long layers are gentle and blended, so the hair looks smooth and the shape is soft. A butterfly cut is bolder, with a clear jump between the short top layers and the long bottom. That gap is what creates the big, flippy volume. If you want subtle shape, choose long layers. If you want dramatic lift, choose the butterfly cut.
Does a butterfly cut work on fine hair?
Yes, it is one of the best cuts for fine hair that wants volume. The short top layers sit above the longer ones and lift up, which makes fine hair look much fuller. A round-brush blowout adds even more body. Just ask your stylist to keep the length looking solid and not too wispy, since heavy layers can make fine ends look thin.
Does a butterfly cut suit thick or wavy hair?
Yes. Layers take out some of the weight from thick hair, so it sits better and swings more. Wavy hair is a natural match, because the waves fall into the layered shape and give movement with almost no effort. The cut lightens thick hair without losing its fullness.
What face shapes suit a butterfly cut?
Almost all of them, because the layers can be placed to flatter you. Round faces suit layers starting lower, near or below the chin. Long faces suit layers higher with soft front pieces for width. Square faces suit curved layers that soften the jaw. Heart faces suit body lower down near the chin. Oval faces can wear any version.
How do I style a butterfly cut at home?
The classic way is a round-brush blowout. Dry the hair in sections while rolling the brush up and away from your face, which flicks the layers into wings. For an easier route, use a curling wand and wrap sections away from your face, focusing on the short top layers and the front pieces. Finish with a light spray so the layers still move.
Do I have to blow-dry a butterfly cut every day?
Not the whole head. The layers do need styling to show their shape, but you can often refresh just the front face-framing pieces with a wand or round brush, add a little root volume, and leave the length as it is. That keeps the look intentional in a few minutes. If you never heat-style at all, plain long layers may suit you better.
How often does a butterfly cut need a trim?
Plan on a trim roughly every eight to twelve weeks. The bottom length does not need much, but the layers and face-framing pieces lose their shape as they grow, so a light reshape keeps the wings crisp. If you want the front pieces to stay short and sharp, go a touch more often. If you like the layers softening, you can stretch it out.
Is a butterfly cut hard to grow out?
No, growing it out is one of its strengths. Because the bottom length is kept long, the short layers simply blend into the length over time and turn into soft long layers, without an awkward stage. You can grow your hair long again while keeping your length the whole way, which makes it a low-risk cut to try.
What length should the shortest layer be?
It depends on the look you want. A shorter version has the top layers around the chin or jaw for more drama and lift near the face. A longer version has them nearer the collarbone for softer, more natural volume that is easier to tie back. A good middle path for a first-timer is layers that start around the chin at the very front and get longer toward the back.
Sources
Hair biology and hair-care facts on this page are supported by these sources. Styling recommendations are guidance.
- Tips for healthy hair, American Academy of Dermatology
- Everyday hair care, American Academy of Dermatology
- How to style hair without damage, American Academy of Dermatology
- Hair Loss Resource Center, American Academy of Dermatology
- Hair Problems, MedlinePlus, U.S. National Library of Medicine
See it on your own face
Kurli reads your face from a selfie, recommends styles that suit you, and renders each one onto your photo.
The face-shape read and your top pick are free. Your photo is never sold or used to train AI.