Women's hairstyle guide
Blowout
Smooth, bouncy, salon-looking hair. Dried and shaped with a round brush and a dryer.
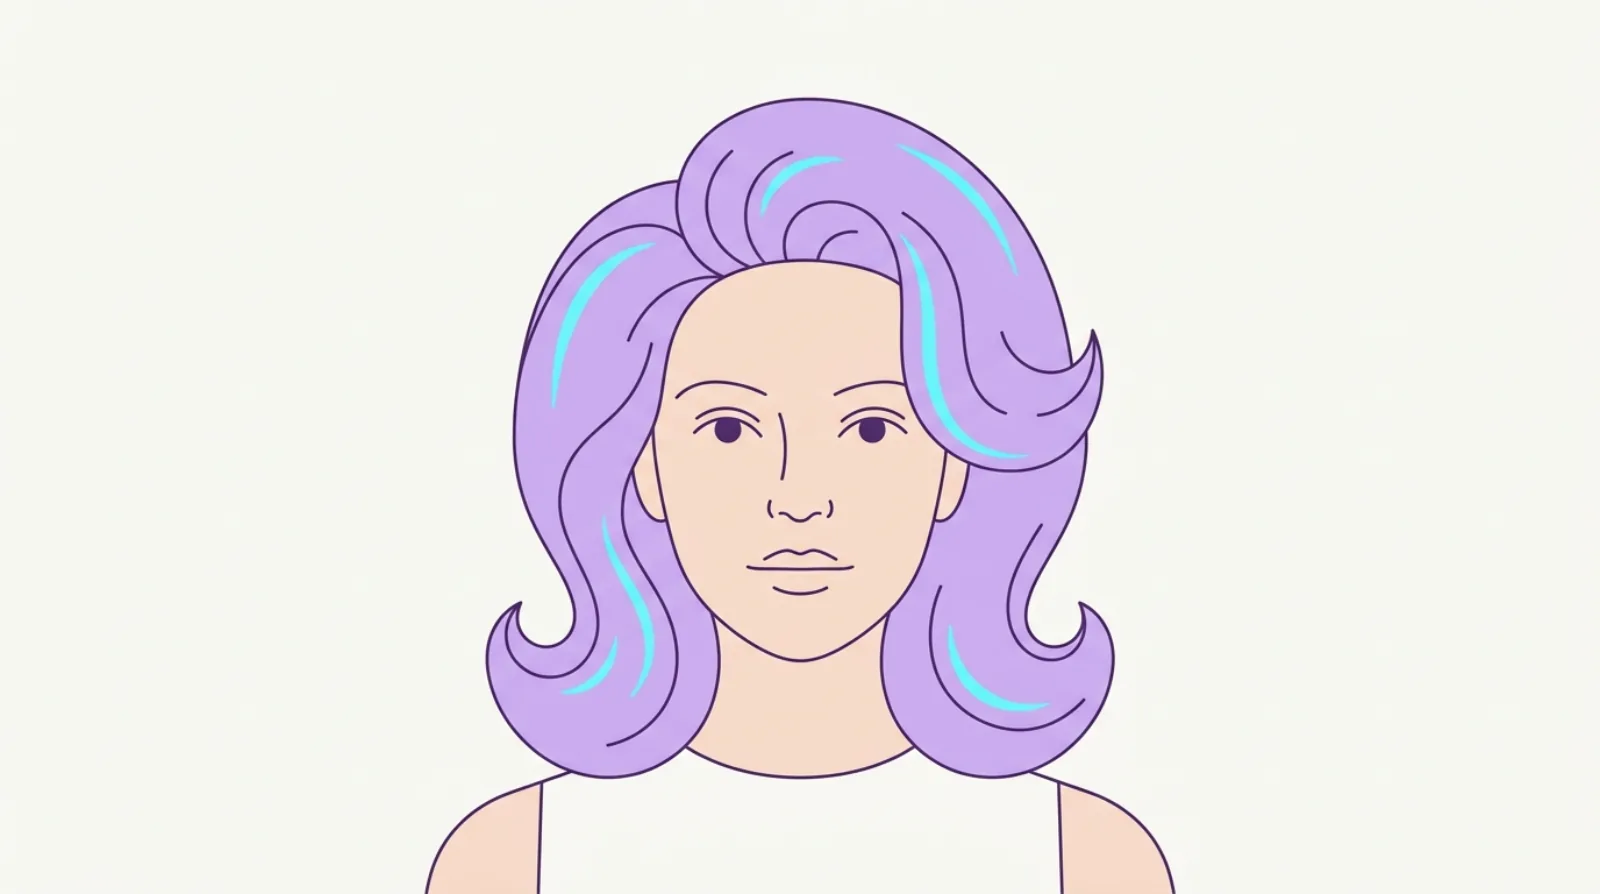
A blowout is the look you get when you dry your hair with a round brush and a blow-dryer instead of letting it air-dry. The brush shapes the hair while the heat sets it, so you end up with smooth, full, bouncy hair that has body and shine. It is the classic salon finish, and the good news is you can learn to do a solid one at home. This guide covers the popular looks, the tools and products, a simple step-by-step method, and how to make it last for days.
Find out whether this suits your face. One selfie, and the face-shape read and your top pick are free.
Kurli is an AI hairstyle advisor: upload one selfie and it reads your face shape, recommends the cuts that suit it, and renders any of them onto your own photo before you commit.
What a blowout actually is
A blowout is a way of drying and styling your hair at the same time. You wash your hair, then dry it in sections with a blow-dryer while you pull a round brush through each piece. The brush stretches the hair straight and curves the ends, and the hot air sets that shape in place. When you finish, your hair is smooth, full, and shaped, with a soft bend where you want it.
The key idea is that the shape comes from the brush and the heat, not from a curling iron or a flat iron. That is what makes a blowout look natural. The body sits at the roots, the length is smooth, and the ends turn under or flick out depending on how you hold the brush. There is a bit of movement built in, so it never looks stiff.
The word blowout can mean two things. It can be the finished hairstyle, and it can be the salon service where a stylist washes and blow-dries your hair without cutting it. Blow-dry bars built a whole business around that quick service. This guide is about the look and how to get it, whether you pay for it or do it yourself. To see how it sits next to other options, browse the women's hairstyles hub or compare it with soft beachy waves.
The popular blowout looks
A blowout is not one single style. It is a base finish you can shape a few different ways, and knowing the names helps you ask for the one you want.
The bouncy '90s blowout. This is the big one right now. The ends curve under or flick out, the roots have lift, and the whole thing looks full and springy. People sometimes call it a bombshell or supermodel blowout. It uses a large round brush to build round, rolling volume through the mid-lengths and ends. It reads glamorous and a little retro.
The sleek, straight blowout. Here the goal is smooth and flat rather than bouncy. You pull the brush straight down so the hair falls in a clean, shiny sheet with the ends turned gently under. It is polished and dressy, and it suits a smart event or a sharp everyday look. It is calmer than the '90s version.
The voluminous blowout. This one is all about size at the roots and through the crown. You lift each section up and away from your head as you dry it, and you may add a mousse or root spray first. The result is big, full hair with plenty of height. It is a great choice for fine hair that usually falls flat.
All three start from the same method. The difference is the size of the brush, the angle you pull it, and how much lift you build at the roots. Once you learn the base, you can move between them.
 More in women's hairstylesOld Hollywood waves
Who it suits and which face shapes it flatters
A blowout is one of the most flattering finishes there is, partly because you can shape it to your own face. The volume, the length of the layers, and where the ends bend all change how it frames you.
Round faces do well with a blowout that keeps height at the crown and lets the length fall long and smooth past the chin. The lift on top makes the face look a little longer, and keeping the volume low rather than at the cheeks stops it from adding width. A few face-framing pieces swept back help too. Read more in the hairstyles by face shape guide.
Long or oblong faces look best with a softer, bouncier blowout that adds body at the sides rather than a lot of height on top. Width lower down and ends that flick out balance a long shape. Skip a very tall, teased crown.
Square faces suit a blowout with soft, curved ends and face-framing pieces that break up a strong jaw. The rounded body of the '90s version works nicely here.
Heart-shaped faces with a narrow chin often look great with volume through the mid-lengths and ends, which adds fullness lower on the face where a heart shape is narrower.
Oval faces can wear any version, since the proportions are already balanced. Pick the look that matches your hair and your day. Not sure which shape you have? The face shape quiz gives you a quick read.
Not sure which face shape is yours? Kurli reads it from one selfie and shows the cuts that suit it.
Hair types and lengths that work
A blowout works across many hair types, though how much effort it takes changes with your texture.
Straight hair blow-dries quickly and holds a smooth shape with little fuss. Your main job is adding body, since straight hair can fall flat. A round brush at the roots and a light mousse give it lift.
Wavy hair is a natural fit. The blowout smooths the waves into soft, full body, and the slight texture underneath helps it hold. This is often the easiest hair to get a bouncy result on.
Curly and coily hair can absolutely have a blowout, and the result is smooth and full. It takes more time and more heat, so this is the type that needs the most care. Always use a heat protectant, work in small sections, and avoid going over the same piece again and again. Because curly and coily hair is more prone to dryness and breakage, keep the dryer moving and give your hair breaks between blowouts. See hairstyles by hair type for more.
Fine hair gets a lot from a blowout, because the round-brush lift adds body it does not have on its own. Use light products so you do not weigh it down.
Thick hair holds a blowout beautifully, but it takes longer to dry, so section it well and be patient.
On length, a blowout suits medium and long hair best, since there is enough length to roll around the brush and build body. It also works on a bob or a lob, where a round brush curves the ends under for a clean, full finish. See haircuts by length for more on matching a finish to your cut.
How to do a blowout at home, step by step
Here is a simple method for a full, bouncy blowout. It takes practice, so give yourself a few tries.
1. Wash and towel-dry. Start with clean hair. Gently squeeze out the water with a towel so your hair is damp, not dripping. Working on soaking hair takes forever and uses too much heat.
2. Add your products. While the hair is damp, work in a heat protectant from roots to ends. Add a mousse or a root-lift spray if you want more volume, and a smoothing serum on the ends if they tend to frizz. This step matters, so do not skip the heat protectant.
3. Rough-dry to about 80 percent. Before you pick up the brush, dry your hair most of the way with the dryer and your fingers. Aim for around 80 percent dry. This saves a lot of time, because the round brush only needs to do the final shaping, not dry soaking hair.
4. Section it. Clip the top half of your hair up and out of the way. Always work from the bottom sections first, then let down more hair as you go. Small sections dry faster and hold better than big ones.
5. Brush and dry each section. Take a section, place the round brush underneath near the roots, and lift it up for volume. Point the dryer nozzle down the hair, following the brush as you pull it slowly from root to end. Roll the brush under at the ends to curve them. Keep the dryer moving so no spot gets too hot.
6. Give it a cool shot. Most dryers have a cool button. When a section is smooth and dry, hold the brush in place and hit it with cool air for a few seconds. Cool air locks in the shape, which is the secret to body that lasts.
7. Finish. Once every section is done, let your hair cool fully. Then shake it out with your fingers, add a little shine serum or a light hairspray, and you are set.
The tools you will want
The right tools make a blowout far easier, and there are a few paths depending on how much control you want.
A round brush plus a blow-dryer. This is the classic pair and gives you the most control over the shape. You hold the dryer in one hand and the brush in the other. A ceramic or metal-barrel round brush heats up and helps set the curve. This combo takes the most practice, but it makes the best, longest-lasting blowout.
A round-brush dryer (hot-air brush). This is a single tool that blows warm air through the bristles of a round brush. You only need one hand, so it is much easier to control than juggling two tools. It is a great middle option for a bouncy, rounded finish without the coordination a separate brush and dryer take.
A blow-dry brush (paddle style). These oval or paddle-shaped hot brushes are made for speed and smoothing. They dry and straighten in one pass and are the quickest way to get a sleek, tidy finish. They give less rounded volume than a true round brush, so they suit the sleek look more than the big bouncy one.
A nozzle for your dryer. The little flat attachment that clips onto the end of a dryer is called a concentrator nozzle. It points the air in one direction, down the hair shaft, which smooths the surface and cuts frizz. Always use it for a blowout. Aiming the air down the hair, rather than blasting it in every direction, is what gives you shine.
Section clips and a comb. A few clips to hold hair out of the way and a comb to part clean sections keep the whole process tidy and fast.
The products that help
You do not need a shelf full of products for a blowout, but a few key ones make a real difference.
Heat protectant. This is the one product you should never skip. A heat protectant spray or cream puts a barrier between your hair and the hot air, which limits damage. Apply it to damp hair before you dry, from roots to ends. Think of it as sunscreen for your hair.
Mousse. A light mousse worked into damp roots adds body and helps the blowout hold its shape. It is especially useful for fine or flat hair that struggles to keep volume.
A volumizer or root-lift spray. If you want big, full roots, spray a root-lift product at the scalp before you dry, then lift each section up and away from your head with the brush. This builds height at the crown.
A smoothing serum. A few drops of a lightweight serum or hair oil on the mid-lengths and ends fights frizz and adds shine. Use a small amount, because too much makes hair look greasy and can drag out the volume. Start with a pea-sized drop and add more only if you need it.
A light hairspray to finish. A flexible-hold spray at the end sets the shape so it lasts, without turning your hair crunchy. A little goes a long way. Match your products to your hair type, and see the haircuts by length guide for more on building a routine around your cut.
How to make a blowout last three days or more
A big part of the appeal of a blowout is that it lasts. With a little care, a good one can look great for three or four days, which means you wash your hair less and save time all week.
Let it cool before you touch it. The shape sets as the hair cools. If you brush or tie it up while it is still warm, you drop the volume. Give it ten minutes to cool fully, then style.
Use dry shampoo from day two. Spray dry shampoo at the roots to soak up oil and bring back lift. Do this before your hair looks greasy, not after, and it keeps the blowout fresh far longer. It is the single most useful product for stretching the days.
Protect it at night. Sleep on a silk or satin pillowcase, which causes less friction than cotton and helps keep the hair smooth. For extra hold, loosely pile your hair into a soft, high bun on top of your head, sometimes called a pineapple, and secure it with a soft scrunchie so you do not crease it.
Keep water away. Water relaxes the shape, so avoid steamy showers without a cap, and clip your hair up if you are washing your face. A shower cap on non-wash days is your friend.
Refresh the ends. If the ends drop, you can quickly re-curve them with a round brush and a blast of the dryer, or a cool flat iron, without washing. A light mist of hairspray after helps it hold.
Heat safety and avoiding damage
A blowout uses heat, and heat is the main cause of styling damage, so it is worth doing it in a way that keeps your hair healthy. The good news is that a blowout uses gentler heat than a flat iron or curling wand, since a dryer works at a lower temperature than those tools.
Start every blowout with a heat protectant on damp hair. It really does reduce the damage from the dryer, and it is the easiest habit to build. Next, do not point the dryer too close to your hair. Keep the nozzle a few centimetres away and keep it moving, so no single spot gets blasted with heat. Rough-drying to 80 percent first also means the hot brush spends less time on your hair.
Use a medium heat setting rather than the highest one whenever you can. Very high heat, used every day, weakens hair over time and leads to dryness and breakage. Give your hair rest days between blowouts, and let it air-dry when you are not styling. Dermatologists point out that limiting how often and how hot you style is one of the best ways to keep hair strong. If your hair already feels dry or brittle, a weekly deep conditioning treatment helps it stand up to the heat. Healthy hair also holds a blowout better and looks shinier, so gentle care pays off twice.
Salon blowout vs doing it at home
You can get a blowout at a salon or a blow-dry bar, or you can learn to do one yourself. Both are worth knowing about.
The salon blowout. A stylist washes your hair and blow-dries it into a full, smooth finish, usually with no cut involved. It is quick, often 30 to 45 minutes, and the result is polished because they do it all day and can reach the back of your head easily. Many people book one before a wedding, a party, or a photo. The trade-off is the cost and the trip, and it only lasts as long as any blowout does.
The at-home blowout. Doing it yourself costs nothing once you own the tools, and you can do it whenever you like. The downside is that it takes practice, and the back of your own head is tricky to reach and see. Your first few tries may not match a salon, and that is normal. A round-brush dryer makes home blowouts much easier if you find juggling a separate brush and dryer hard.
A good plan for many people is to book a salon blowout for big events and learn a simple version at home for everyday. The at-home skill is worth building, because once you have it, you can get salon-looking hair on any morning. Want to see a style on your own photo before you commit? Try it with Kurli.
Common mistakes, plus the pros and cons
A few small errors are what stand between a flat blowout and a bouncy one, so here is how to avoid them.
Starting on hair that is too wet. If you go straight to the round brush on soaking hair, it takes forever and cooks your hair with heat. Rough-dry to about 80 percent first.
Taking sections that are too big. Big sections do not dry evenly and lose their shape fast. Work in small, clean sections for body that holds.
Skipping the cool shot. The cool button is what locks the shape in. If you skip it, your volume drops within the hour. Always finish each section with cool air.
Skipping heat protectant. This is the mistake that costs you over time, since it leads to dry, damaged hair. Never blow-dry without it.
Using too much product. Heavy serums and oils drag the volume straight out. Start with a tiny amount.
Now the honest trade-offs. The pros: a blowout looks polished and full, it adds shine and body, it lasts several days with care, and it suits most hair types and face shapes. It also uses gentler heat than irons and wands. The cons: it takes time and practice to do well, it uses heat so it needs a protectant and rest days, and humidity or rain can relax it. For most people the payoff is worth it, because once you learn the method you can get salon hair at home. Ready to find your look? Start with Kurli.
Common questions
What is a blowout hairstyle?
A blowout is a smooth, full, bouncy finish you get by drying your hair with a round brush and a blow-dryer. The brush shapes the hair and curves the ends while the hot air sets it. The word can also mean the salon service where a stylist washes and blow-dries your hair without cutting it.
How do I do a blowout at home?
Wash and towel-dry, then apply a heat protectant to damp hair. Rough-dry to about 80 percent, clip your hair into sections, and work from the bottom up. Place a round brush under each section, pull it slowly from root to end while following with the dryer, and roll the ends under. Finish each section with a shot of cool air to lock the shape.
What tools do I need for a blowout?
You need a blow-dryer with a concentrator nozzle and a round brush, or a single round-brush dryer that combines the two. A blow-dry brush works for a sleeker finish. Add a few section clips and a comb. The round-brush dryer is the easiest option if holding a separate brush and dryer feels awkward.
How long does a blowout last?
With care, a good blowout lasts three to four days. Let it cool fully before touching it, use dry shampoo from day two to refresh the roots, sleep on a silk or satin pillowcase, and keep water away on non-wash days. Piling it into a loose high bun at night helps keep the body.
Does a blowout damage your hair?
A blowout uses heat, which is the main cause of styling damage, but a dryer runs cooler than a flat iron or curling wand, so it is gentler. Always use a heat protectant, keep the dryer moving and a few centimetres away, use a medium setting, and give your hair rest days. Those habits keep the damage low.
What is the difference between a '90s blowout and a sleek blowout?
A '90s or bombshell blowout is bouncy and full, with the ends curved under or flicked out and lots of body from a large round brush. A sleek blowout is smooth and flat, dried straight down for a polished, shiny finish with just a gentle bend at the ends. Both start from the same method.
Can I get a blowout on curly hair?
Yes. A blowout smooths curly and coily hair into a full, sleek finish. It takes more time and heat than straight hair, so always use a heat protectant, work in small sections, and keep the dryer moving so you do not overheat any piece. Because curly hair is more prone to dryness, give it rest days and deep condition regularly.
Why does my blowout go flat so quickly?
The usual reasons are skipping the cool shot, taking sections that are too big, or touching your hair before it cools. Cool air sets the shape, so finish each section with it and let your hair cool fully before styling. Fine hair also holds better with a light mousse or root-lift spray added to damp roots.
Do I need a heat protectant for a blowout?
Yes, always. A heat protectant spray or cream puts a barrier between your hair and the hot air, which limits damage. Apply it to damp hair from roots to ends before you dry. It is the one product you should never skip, and it works a little like sunscreen for your hair.
Should I blow-dry wet or damp hair for a blowout?
Damp, not soaking. Towel-dry first, then rough-dry with the dryer and your fingers to about 80 percent before you pick up the round brush. Working on soaking hair takes far longer and uses much more heat, and the brush only needs to do the final shaping, not the drying.
Is a round-brush dryer better than a separate brush and dryer?
It depends on what you want. A separate round brush and dryer give the most control and the longest-lasting shape, but they take practice to coordinate. A round-brush dryer combines both into one tool you hold in one hand, which is much easier for a bouncy finish at home. Beginners often find the combined tool simpler.
How do I add volume to a blowout?
Add a light mousse or a root-lift spray to damp roots before you dry. As you blow-dry, lift each section up and away from your head with the round brush so the roots stand up. Finish with a cool shot while the brush is still in place, and work in small sections so the body holds through the day.
Sources
Hair biology and hair-care facts on this page are supported by these sources. Styling recommendations are guidance.
- How to style hair without damage, American Academy of Dermatology
- Tips for healthy hair, American Academy of Dermatology
- Everyday hair care, American Academy of Dermatology
- Hair Loss Resource Center, American Academy of Dermatology
- Hair Problems, MedlinePlus, U.S. National Library of Medicine
See it on your own face
Kurli reads your face from a selfie, recommends styles that suit you, and renders each one onto your photo.
The face-shape read and your top pick are free. Your photo is never sold or used to train AI.